Daily Pick
One deeply researched guide worth reading today.
A practical route through the systems that matter most, written to help new players make confident decisions quickly.
Overview
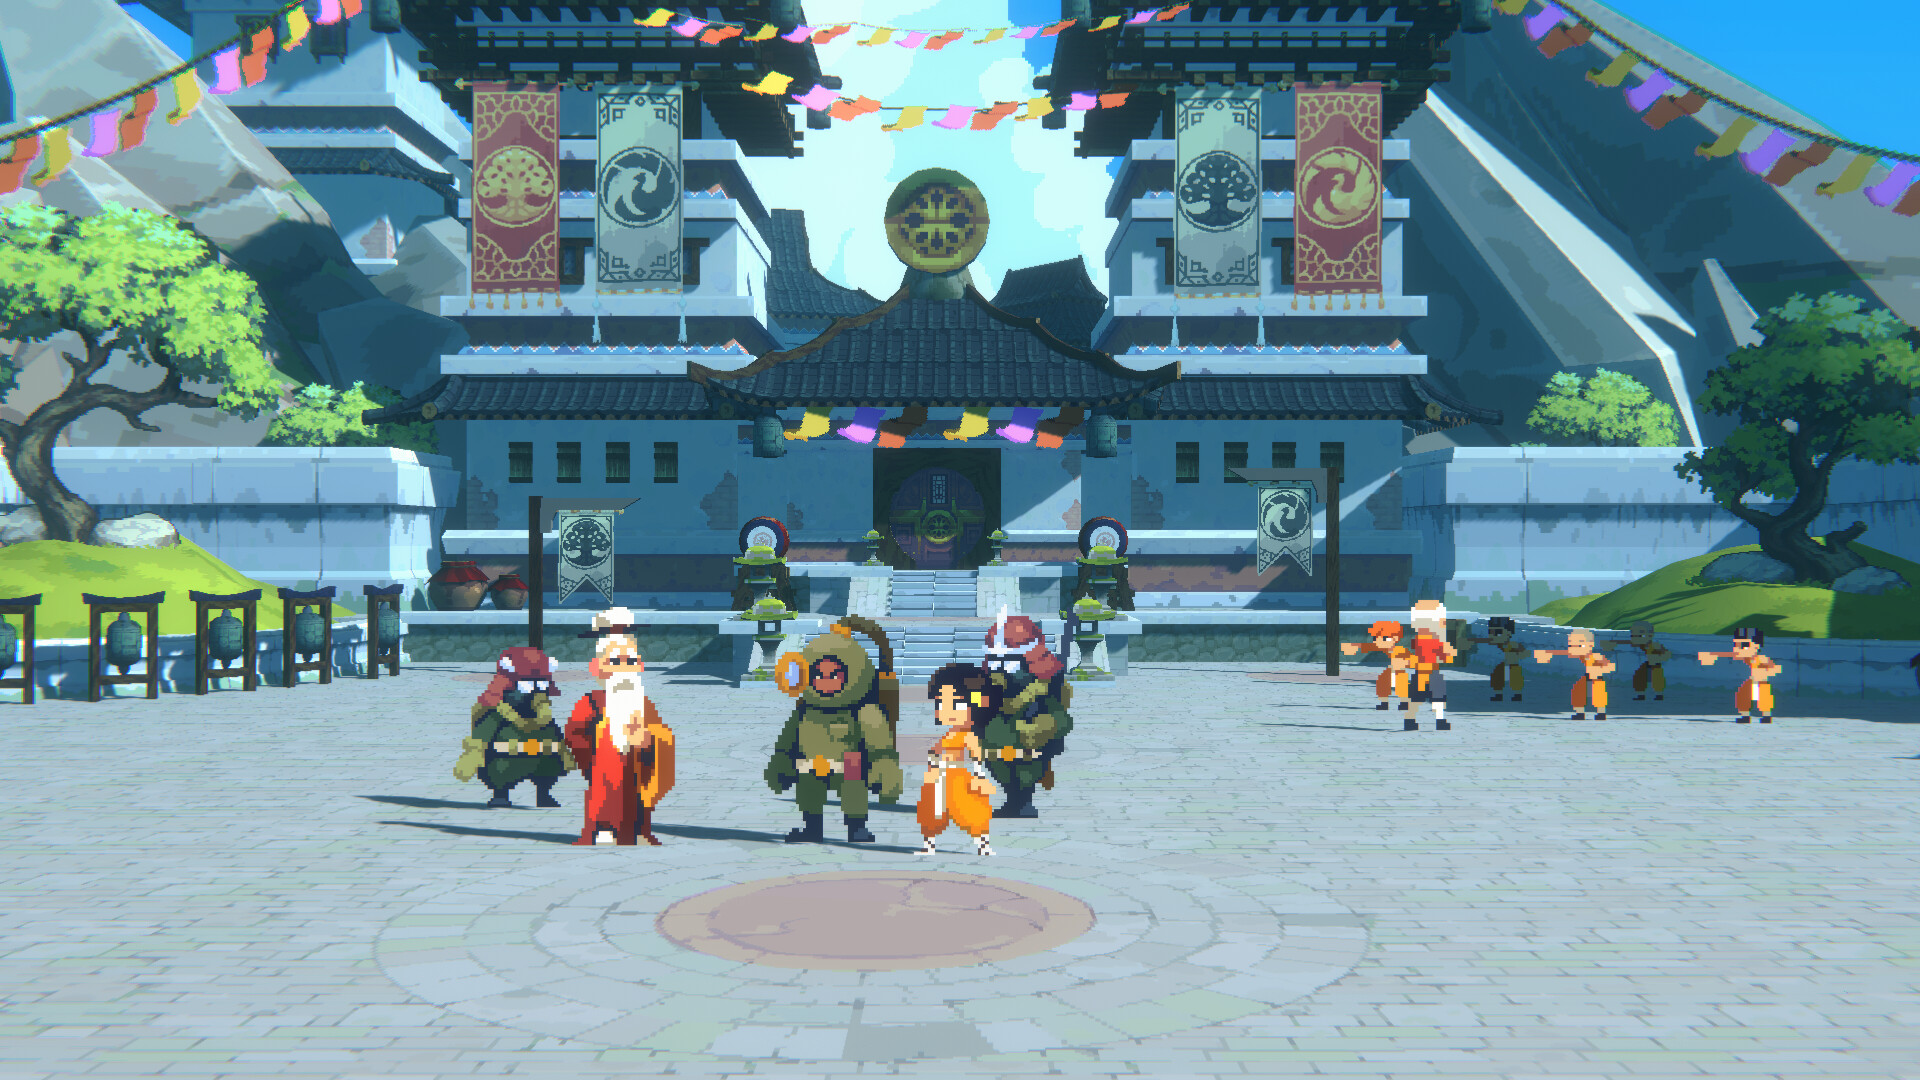
Akatori is a hand-drawn metroidvania from Contrast Games, published by Games Harbor and Esprit Games. You play Mako, a teenage battle monk raised in the Firebird Temple, who sets out with a mysterious red bird sealed inside her staff to stop the Amber Storms — a glowing corruption that distorts people, animals, and the land across five worlds. The full game launches on PC via Steam on August 5, 2026, with console versions following August 12, 2026 and a Switch 2 release planned for 2027. A standalone prologue, Chapter One, is already on Steam (app 2524680) with nine achievements.
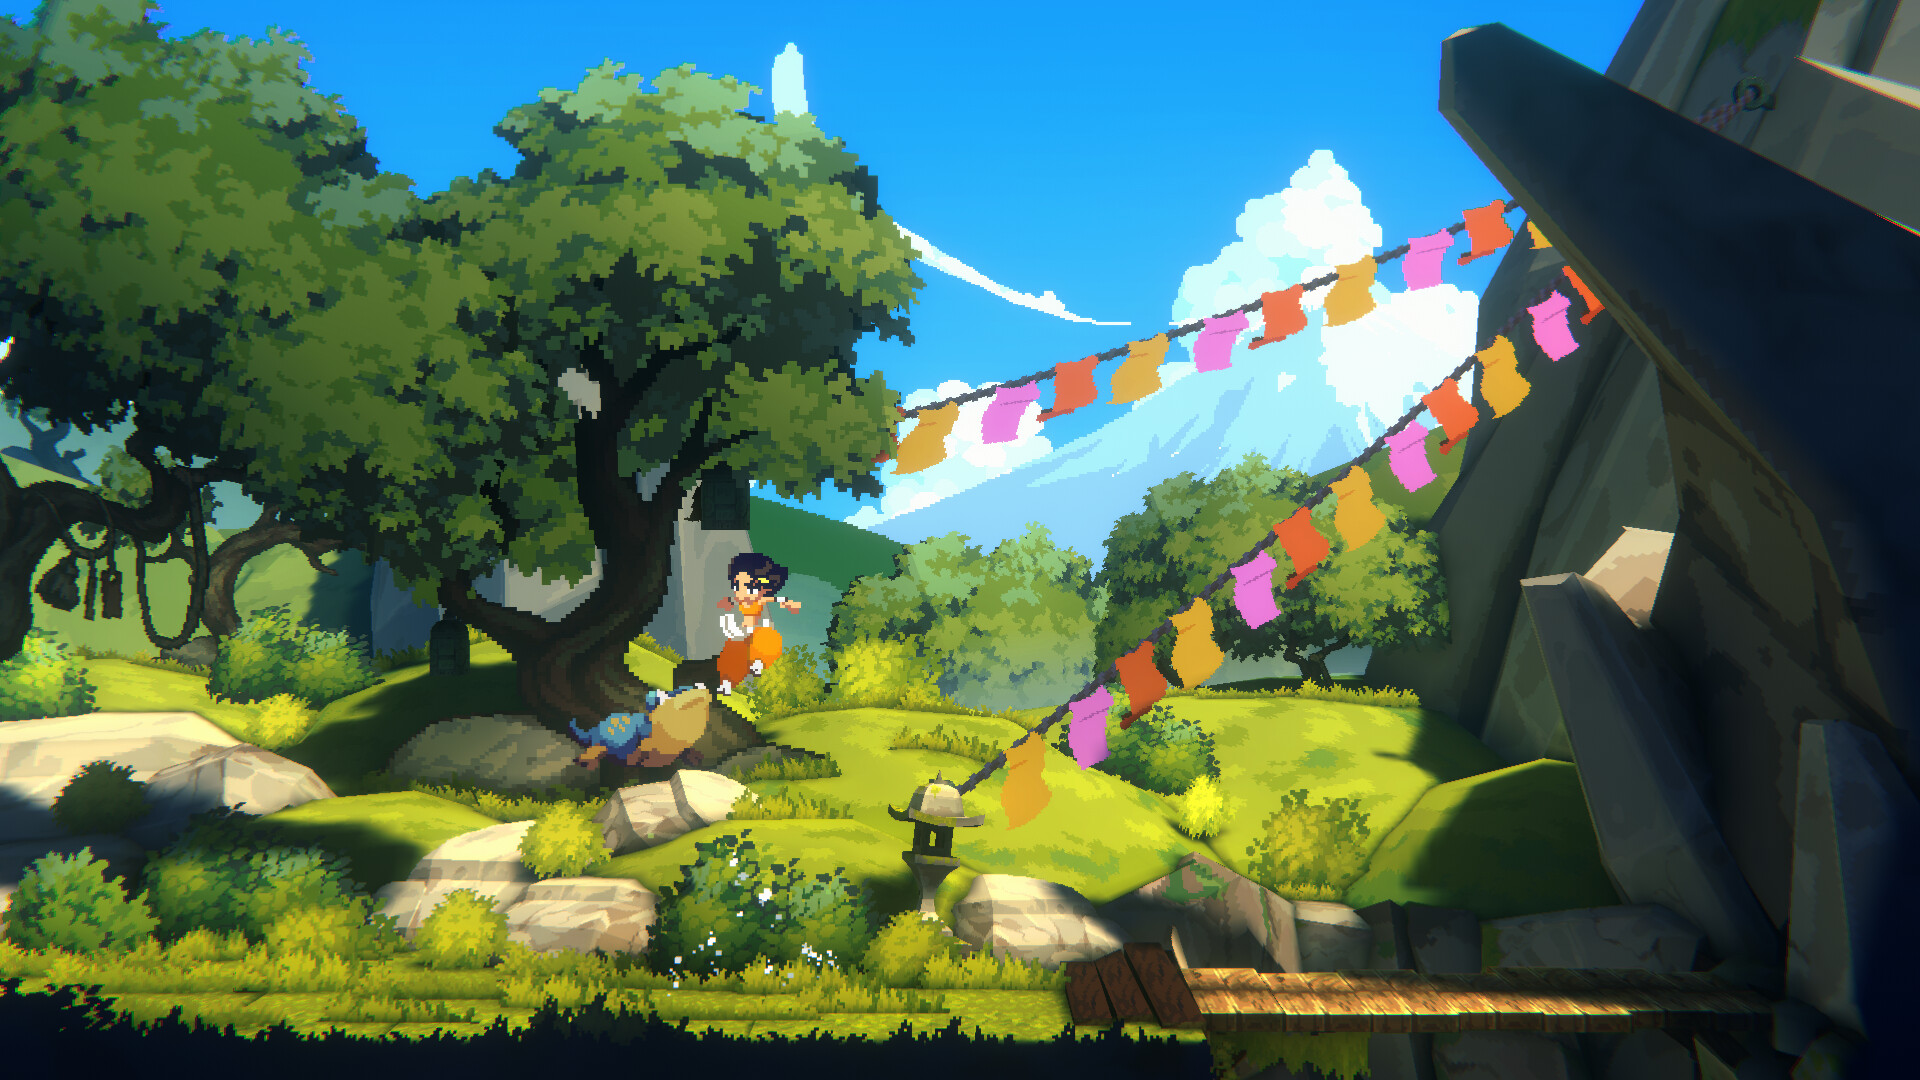
The design thesis is "one staff, many verbs." Mako's weapon is a projectile, a glider, a wall hook, a puzzle key, and a style meter wrapped into one monk tool. Contrast Games calls the fantasy "kung fu parkour": combat and exploration share inputs, so momentum never resets between a boss arena and the platforming corridor outside. The staff transforms between combat and traversal forms, and you discover its full kit by exploring, not by reading tutorials.
This is a game for players who want Hollow Knight-style exploration without the crushing difficulty, or Ori-style polish with deeper combat. It is close-quarters only — no ranged weapons beyond staff throws — and it rewards aggressive play over cautious turtling. Expect a first playthrough of 12-15 hours, 8-10 if you know the genre.
Game Details
| Field | Detail |
|---|---|
| Genre | Metroidvania / Action Platformer |
| Developer | Contrast Games |
| Publisher | Games Harbor, Esprit Games |
| Platform | Windows (PC), consoles Aug 12 2026, Switch 2 in 2027 |
| Price | To be announced (Xbox pre-order listed at $14.99) |
| Players | Single-player |
| Release | August 5, 2026 (PC) |
| Controller | Full support (Xbox, DualSense, DualShock), gamepad recommended |
| Achievements | 9 in Chapter One; 31 planned for full game |
| Steam Cloud | Yes |
| Languages | English, Russian, French, German, Spanish, Traditional/Simplified Chinese, Korean, Portuguese-Brazil, Japanese |
| OS Required | Windows 10 64bit (build 19043+) |
System Requirements
| Component | Minimum | Recommended |
|---|---|---|
| CPU | Intel Core i3-6100 | Intel Core i5-3470 |
| RAM | 6 GB | 8 GB |
| GPU | NVIDIA GT 740 (2GB) | GTX 1050 (2GB) / R9 380 (2GB) |
| Storage | 10 GB | 10 GB |
| OS | Windows 10 64bit (21H1+) | Windows 10 64bit (21H1+) |
Getting Started — Your First 30 Minutes
1. Learn the Two-Mode Combat Rhythm
The single most important thing in Akatori is understanding that you have two melee modes, and both matter:
- Staff mode — longer reach, harder single hits, can stagger armored enemies, enables throw setups. Drains the energy meter.
- Fists mode — fast flurries, tight dodges, and — critically — refills energy when the staff meter is empty.
An empty meter is not a failure state. It is a signal to swap. The loop is: open with staff for stagger and spacing, swap to fists when the meter blinks low, rebuild energy mid-combo, then re-enter staff mode. Players who lock into one mode lose half the kit.
2. Talk to the Bird
The red bird in your staff drops hints constantly. It comments on rooms, points out suspicious walls, and gives lore context. It never lies, but it speaks in riddles. When it says a ceiling sounds hollow, that is the game telling you to hit it.
3. Follow the Amber Trail
Amber crystals glow bright gold and pulse. They mark the critical path. If you are stuck, look for amber — it leads to the next ability gate or boss. Side paths branch off, but the main route is always lit.
4. Smash Everything
Breakable pots, cracked walls, loose floor tiles — all hide currency or health upgrades. If a surface looks different from its surroundings, hit it. The game rewards destructive curiosity.
5. Mark Your Map
The map fills as you explore but does not mark secrets. Use pings liberally: note every suspicious wall, locked door, and unreachable ledge. Come back when you have the right staff form. This habit saves hours in a game with five interconnected worlds.
Beginner Mistakes to Avoid
| Mistake | Why It Hurts | Fix |
|---|---|---|
| Locking into one combat mode | Staff spam drains energy and leaves you slow; fists-only lacks stagger | Swap staff↔fists the moment the meter blinks low |
| Whiffing staff throws | A missed throw leaves Mako vulnerable and wastes the cooldown | Save throw/recall for boss openings and idle recoveries |
| Backpedaling away from slashes | You roll into arena edges and corner-trap yourself | Dash through attacks, not away from them |
| Fighting every enemy | Enemies respawn on rest or zone transitions; kills cost heals | Run past trash mobs, fight only blockers |
| Hoarding currency | Shards do nothing in inventory | Buy heals before exploring, keys before bosses |
| Ignoring the bird | It tells you exactly where secrets are | Read every dialogue |
| Skipping side areas | The first hidden area contains a health upgrade that doubles starting HP | Explore every branch before progressing |
Core Mechanics Explained
The Staff Transformation System
The staff has multiple forms tied to progression. In the prologue and demo you get the core verbs; the full game extends the kit rather than replacing it:
- Glaive / Staff combos — Light and heavy ground chains ending in launchers or throws. Stay moving; idle staff is wasted DPS in packs.
- Glider — Hold attack while airborne. The staff spreads into a wide surface to cross gaps and ride air currents.
- Wall hook — Aim at grapple points to climb vertical bamboo and Kohakujō architecture. Also a defensive tool: hooks cancel bad landing frames in combat.
- Throw and recall — Launch the staff as a projectile, recall mid-animation to pull enemies or reposition Mako. Essential for odd-angle boss hits. The recall timing is strict — a whiffed throw leaves you exposed.
- Spear / charged strikes — Charge on the ground to smash cracked floors, break armored enemies, and solve mechanisms.
- Bamboo launches — In bamboo realms, stalk slingshots launch you into the air; pair with glider and hooks for the longest chains.
- Swimming — Breath-limited underwater movement with hook anchors and stealth routes.
Staff vs Fists: The Energy Economy
| Mode | Strengths | Weaknesses |
|---|---|---|
| Staff | Range, stagger, throw setups, heavier single hits | Drains energy meter; slower recovery if spammed |
| Fists | Fast flurries, meter recharge, tight dodges | Less reach; weak stagger on armored foes |
The energy meter is the hidden timer on aggressive play. Staff attacks hit harder and can stagger targets — including phases of the final prologue boss — while fist chains refill energy. Treat the swap as part of your combo, not an interruption:
- Open with staff for stagger and spacing.
- Swap to fists when the meter blinks low.
- Re-enter staff when the meter refills mid-combo.
- Save throw/recall for boss openings, not trash mobs.
The Amber Economy
Amber is the game's currency. It drops from enemies, breaks from pots, and glows in deposits. Spend it at shrines (save points):
| Item | Cost | Effect |
|---|---|---|
| Small Heal | 10 amber | Restore 2 HP |
| Full Heal | 30 amber | Restore all HP |
| Map Fragment | 15 amber | Reveal unexplored rooms on the current world |
| Boss Key | 50 amber | Unlocks boss room shortcuts (permanent) |
| Ability Charge | 25 amber | Refills staff transformation energy |
The key decision: save 50 amber for a Boss Key or spend it on heals to survive longer exploration? Boss Keys pay off if you die to a boss more than twice — they shorten the run and stay permanent.
Enemy Spawn System
Enemies do not respawn on a timer. Spawns are trigger-based: when you rest at special stones, or when you transition between levels. Clear a room and it stays clear until you rest or leave. Use this: clear a path to a boss, rest to refill health, and the path stays clear. Plan rests carefully — do not rest right before a boss if you already cleared the way.
Environmental Combat Ecosystems
The full game emphasizes living enemy ecosystems: creatures fight each other, trigger traps, and react to hazards. Observe before engaging — sometimes letting amber-corrupted foes brawl saves your staff meter. The demo previews this in Chaos arenas.
Progression Strategy
The Five Worlds and Their Gates
| World | Biome | Staff Focus | Boss |
|---|---|---|---|
| Firebird Temple / Monk Forest | Tutorial canopy, lush forest | Staff basics, first combos | Corrupted Warden |
| Crystal Caverns | Underground caves, amber deposits | Glider, underwater Breath | The Amber Heart |
| Floating Archives | Ruined sky library, gravity puzzles | Hookshot, glider cancel | Archivist Prime |
| Verdant Wastes | Twisted fertile lands, speed sections | Hammer, charged strikes | The Stalker |
| The Core | Final area, source of storms | Spear, all tools | The First Flame |
Progression order is fixed by staff forms: each world teaches one new verb, and that verb unlocks backtracking routes in earlier worlds. Do not rush the critical path. When you get a new form, the first thing to do is revisit the previous world's map pings — the game is designed so secrets near spawn points require late traversal.
What to Unlock First
- Air dash (Ragged Cape) — priority one once available. It saves you from mis-spaced backsteps near walls and enables aerial juggles.
- Healing upgrades (prayer beads) — buy from merchants before boss attempts. Learning patterns costs health.
- Boss Keys — only for the hard bosses (Archivist Prime, The First Flame, Takatsugu). The early bosses have short runs; a 50-amber key is wasted on them.
- Map Fragments — buy early in each new world to reveal the shortest route to the boss.
Chapter One vs Demo vs Full Game
- Demo — Monk Forest, Bamboo Location, Underwater, Chaos Arena, the Serpent chase, and the Bumblebee boss. Free, ~45 minutes.
- Chapter One — standalone prologue (app 2524680), expands the demo content to Kohakujō with the Takatsugu finale and all nine achievements. 100% run takes under three hours; Any% is 45-90 minutes.
- Full game — five worlds, thirty-one planned Xbox achievements, new biomes, enemy types, and boss phases beyond preview scope.
Step-by-Step Strategy
Sequence 1: The Energy-Cycle Combat Loop
- Open an engagement with one staff heavy to test stagger.
- If the enemy staggers, follow with a full staff chain — you have a 2-second stun window.
- When the meter blinks low, swap to fists and flurry.
- Circle-strafe while fists rebuild energy; dodge through attacks, not away.
- Re-enter staff mode and land the finisher during the next stagger window.
Sequence 2: Clearing a Boss Run Efficiently
- From the last shrine, clear every enemy between you and the boss arena.
- Do not rest at a shrine inside the cleared path — resting respawns everything.
- Fight the boss, die if you must, and respawn at the shrine.
- The cleared path stays clear; you only fight the boss again.
- If you have a Boss Key, the door is already unlocked — zero trash on repeat attempts.
Sequence 3: Beating Takatsugu, Chapter One's Finale
Takatsugu the Ancient Guard of Kohakujō is the first fight where the game expects fluent staff/fists swapping. Most deaths are readable misreads, not unfair spikes.
Phase one — learning telegraphs:
- Watch the shoulder and scabbard angle, not the weapon tip — the animation telegraphs early.
- Dash sideways through the first slash, never backward into the arena edge.
- Land one or two staff heavies if stagger procs, then disengage.
- If stagger fails, swap to fists for a short flurry and rebuild energy while circling.
- Throw the staff only when Takatsugu is idle after a whiff — mid-recovery throws land free damage.
Phase two — increased pressure:
- Idle windows shorten and follow-up swings chain if you dodge predictably.
- Alternate roll directions; mix staff throws to pull aggro from unexpected angles.
- Jump only if the attack is genuinely low — many swings look horizontal but clip jump height.
- Air dash through gap-closing lunges instead of rolling backward into corners.
- If a heavy attack bounces (stagger failed), dodge immediately — do not queue another swing.
Staff-focused clear (recommended first kill): stay at mid range, bait the horizontal slash, punish with heavy staff, recall the throw during recovery. Use fists only to refill meter between bouts.
Fist-focused clear (advanced): stay closer, dodge through attacks, roll behind for backstab flurries. Higher skill ceiling, lower safety margin — but it is the reliable path to the Invincible achievement (no-damage clear), which removes stagger RNG from the equation.
Sequence 4: Underwater and Breath Management
- Prioritize movement over combat — kiting enemies into currents saves air compared to full combo strings.
- Use hook anchors for timed traversal; plan hook angles diagonally, not straight up.
- Watch the low-air indicator; running out of Breath underwater starts draining health.
- Clear the mandatory path first, then explore optional pockets on a second pass with full air.
Sequence 5: Speedrun Routing (Any%)
- Skip combat entirely outside forced arenas — the Serpent chase and boss gates are the only real checks.
- Build momentum with slope slides before gliding; bamboo stalks reset air options.
- Use the Glider Cancel (dodge immediately after deploying) to skip long platforming sections.
- Buy Map Fragments to route the shortest boss path, then a Boss Key.
- Ignore all collectibles on pass one; use chapter select or a new save for cleanup.
Advanced Tips
- Parry Chain: parrying stuns the attacker for 2 seconds. Against groups, parry the first hit, switch targets, and land a full combo on the stunned enemy before the stun wears off.
- Dodge Counterattack: dodge through an enemy's attack and Mako automatically follows up with a strike that staggers. Practice on shield knights before relying on it in boss fights.
- Spear-Cancelling: the spear thrust reaches about 1.5 tiles past the visual tip — hit switches from outside the danger zone. Cancel the spear into a dodge mid-thrust to reverse momentum and hit behind you.
- Glider Cancel: press dodge immediately after deploying the glider to cancel into a roll after a split-second glide. In the Floating Archives this skips a full 30-second platforming section.
- Traversal cancels bad landing frames: use wall hooks mid-combat when floor hazards tighten — the hook is a defensive tool, not just a movement one.
- Aerial juggles: launchers plus air dash keep enemies airborne for style and safety. In the Bumblebee fight, aerial combos and staff throws beat ground trading.
- Rest strategy: since enemies respawn only on rest or zone transitions, clear a path, fight the boss, and die — the trash stays dead. Rest only when you need health or want to spend amber.
Achievements (Chapter One — 9 Goals)
| Bucket | Trigger | Tip |
|---|---|---|
| Story completion | Credits roll after prologue boss chain | Unmissable; avoid sequence breaks on first run |
| Tutorial mastery | Complete guided sequences in Monk Forest | Finish each staff lesson until UI clears |
| Monk Forest exploration | Discover a % of map tiles or lore shards | Hook to high branches early |
| Bamboo verticalist | Reach a marked summit / glider chain | Build momentum with slope slides first |
| Underwater survivor | Clear underwater path under breath limit | Kite enemies, don't fight |
| Boss milestone (mid) | Serpent chase / Bumblebee | Learn projectile recall timing |
| Boss milestone (finale) | Takatsugu | Enter with consumables stocked |
| Combat style challenge | 20-hit chain or no-damage arena | Practice in Monk Forest first |
| Collection / secret room | Hidden shrine or optional chest cluster | Revisit spawn zones after glide |
Missables matter. Points of no return typically precede the final boss elevator — sweep optional rooms in bamboo and underwater branches before accepting finale quests. Steam Cloud saves help, but achievement unlocks are per-save: confirm you are on the intended slot before cleanup.
FAQ / Common Mistakes
Q: Is the staff the only weapon? A: Yes — one staff with combat and traversal forms, plus fists as a secondary melee mode that recharges energy.
Q: When does Akatori release? A: PC via Steam on August 5, 2026. Consoles follow August 12, 2026; Switch 2 in 2027. The Chapter One prologue is already on Steam with 9 achievements.
Q: How long is the game? A: 12-15 hours for a first full playthrough, 8-10 for experienced metroidvania players. Chapter One is under 3 hours for 100%.
Q: Does it have controller support? A: Full controller support for Xbox, DualShock, and DualSense. Gamepad is recommended.
Q: What are the system requirements? A: Minimum i3-6100 / 6GB RAM / GT 740. Recommended i5-3470 / 8GB RAM / GTX 1050 or R9 380. 10GB storage.
Q: Do enemies respawn? A: Only when you rest at special stones or transition between levels — never on a timer.
Q: What is the Breath meter? A: A separate resource from staff energy, used for underwater exploration. Running out underwater damages you.
Q: Can I glide without upgrades? A: No — the glider and air dash are unlocked through progression. The Ragged Cape air dash is a priority pickup.
Q: My staff throws keep whiffing. What am I doing wrong? A: You are throwing at moving targets. Throw only during enemy recovery frames or idle windows, and practice recall timing — a whiffed throw leaves Mako vulnerable.
Q: Takatsugu feels impossible. A: Backtrack for prayer bead healing upgrades, reread the phase-one telegraph section, and farm pattern recognition by repeating the arena from the checkpoint. You are paying for information, not speed.
Final Verdict
Akatori is a metroidvania built around a single transformative weapon, and the depth comes from the two-mode combat economy: staff for stagger and range, fists for speed and energy recovery. The prologue's Takatsugu fight is a genuine skill check that teaches you to swap modes under pressure, and the full game's five worlds extend the kit with glider, hook, hammer, and spear verbs. If you like staff-based combat, exploration-driven progression, and hand-drawn pixel art, this is one to watch — and the free demo plus Chapter One prologue are already enough to tell you whether the loop clicks.