Daily Pick
One deeply researched guide worth reading today.
A practical route through the systems that matter most, written to help new players make confident decisions quickly.
Overview: What Kind of Game Is RIFTSTORM?
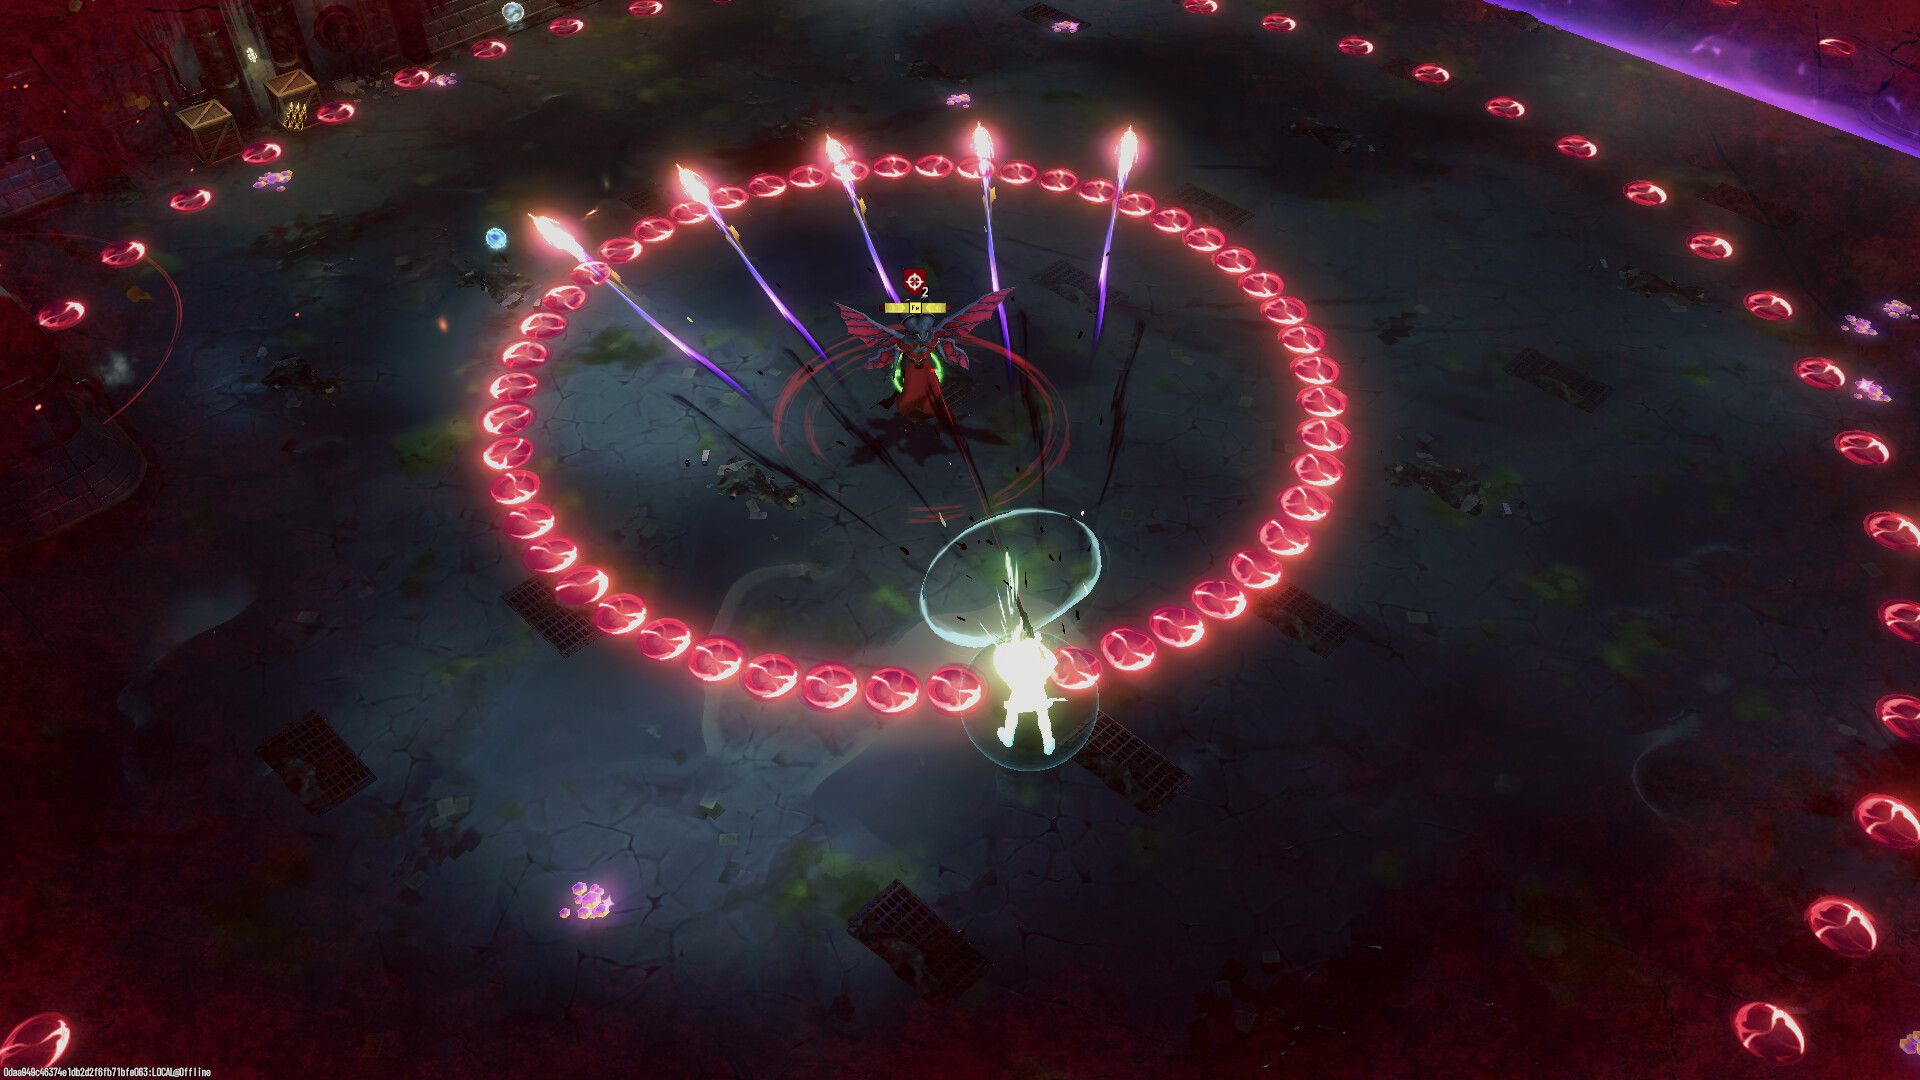
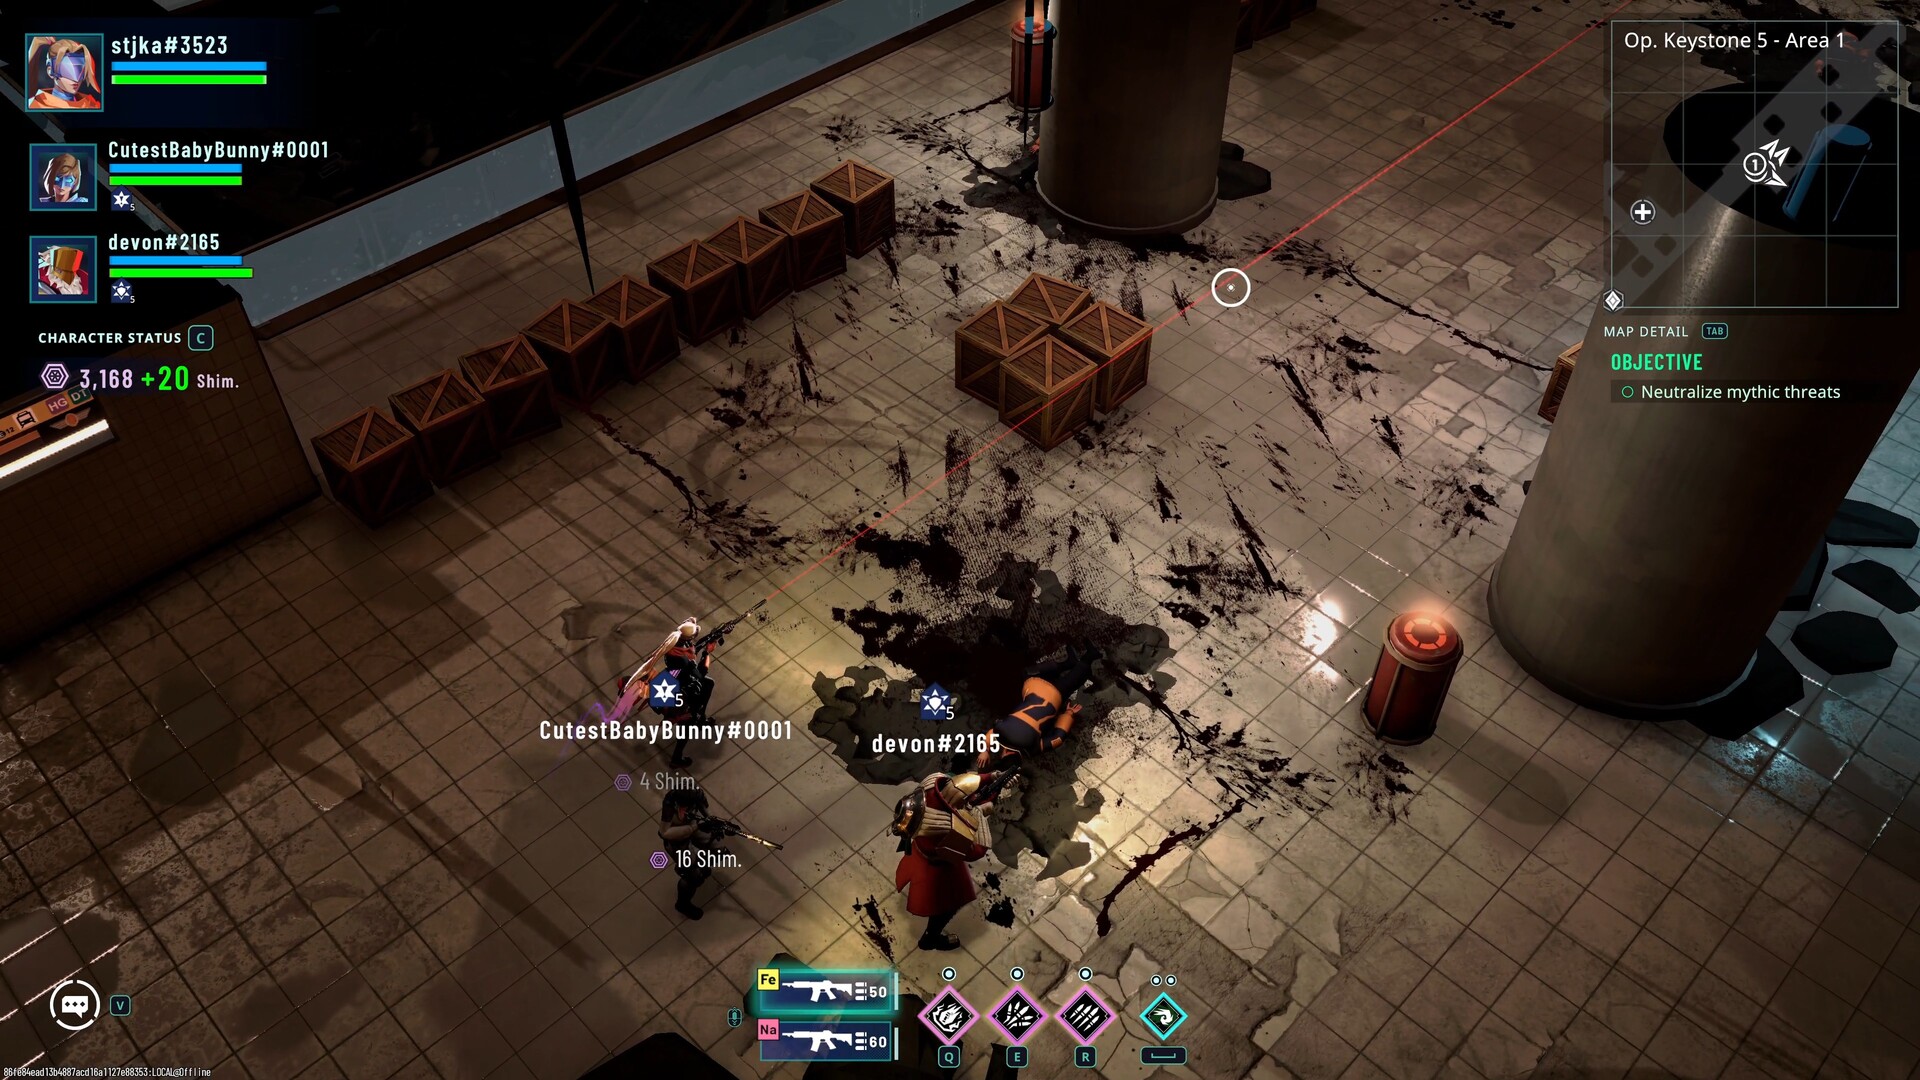
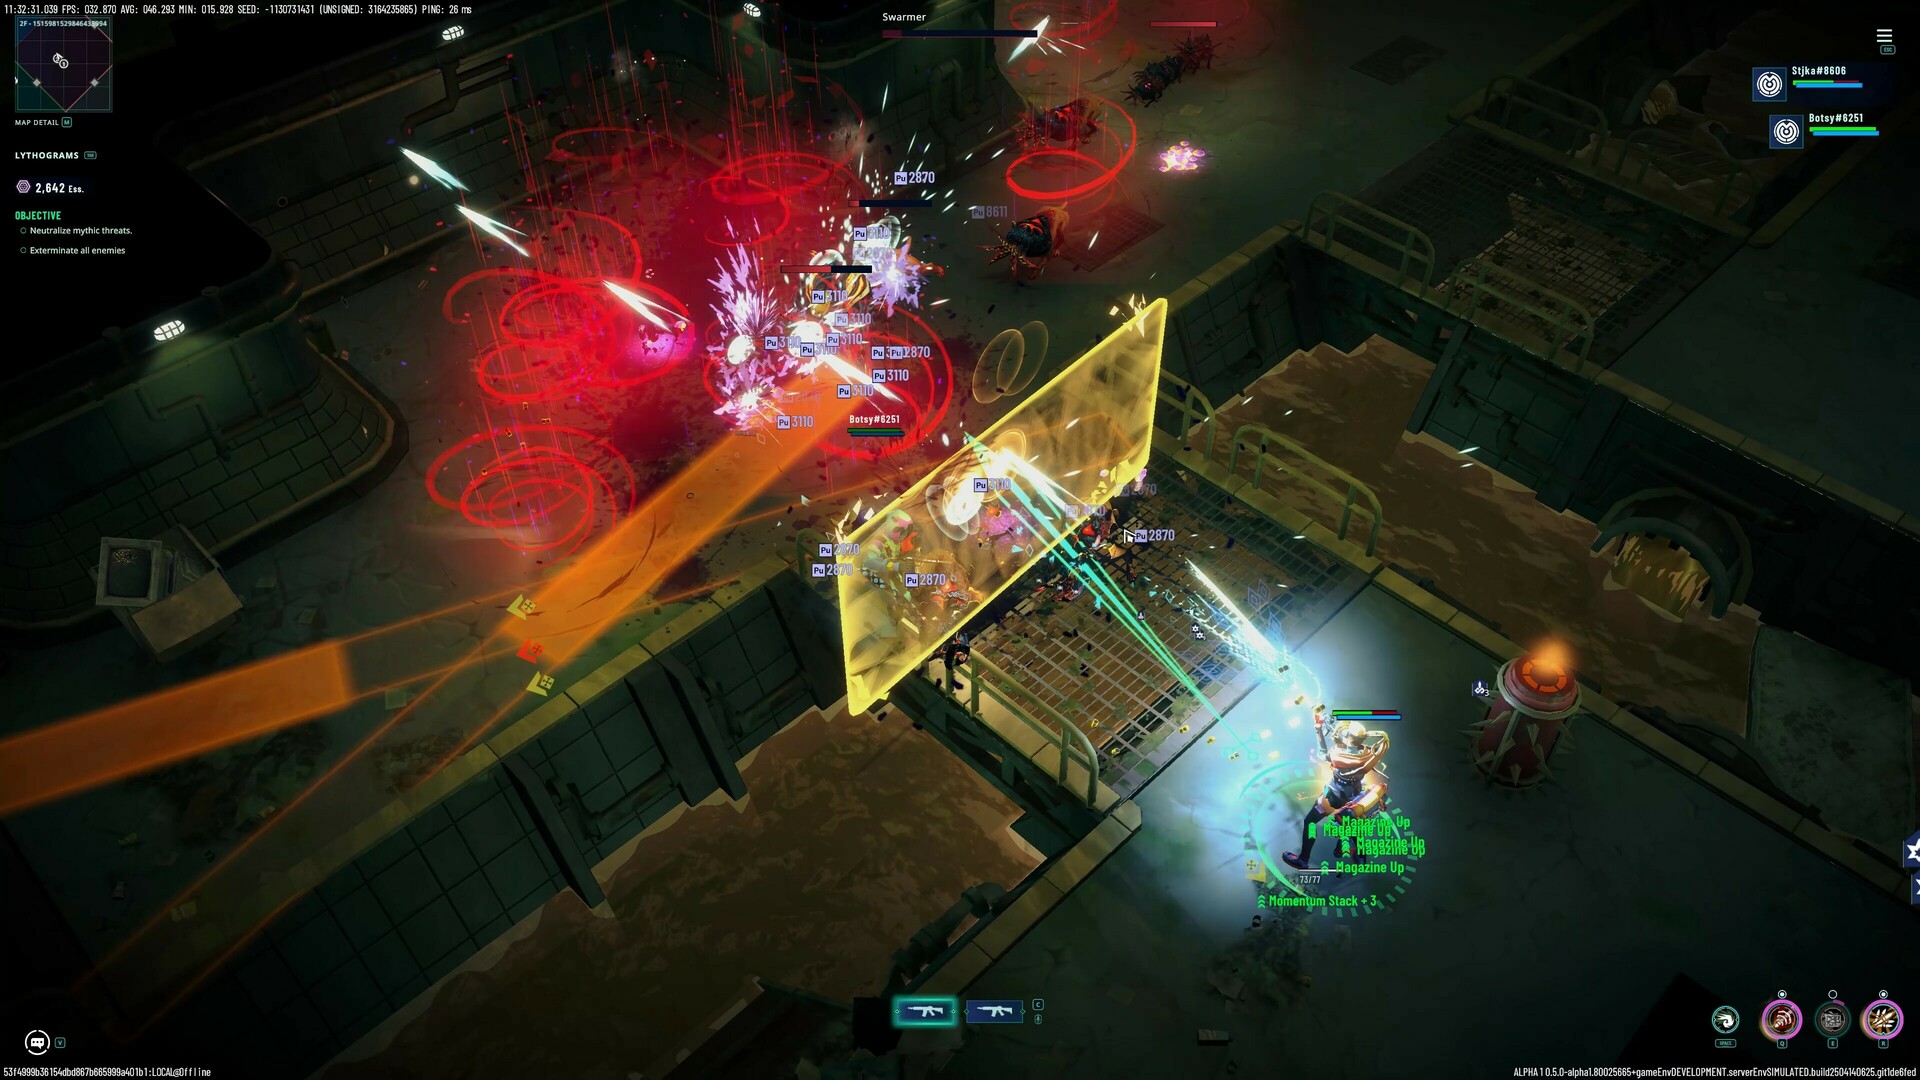
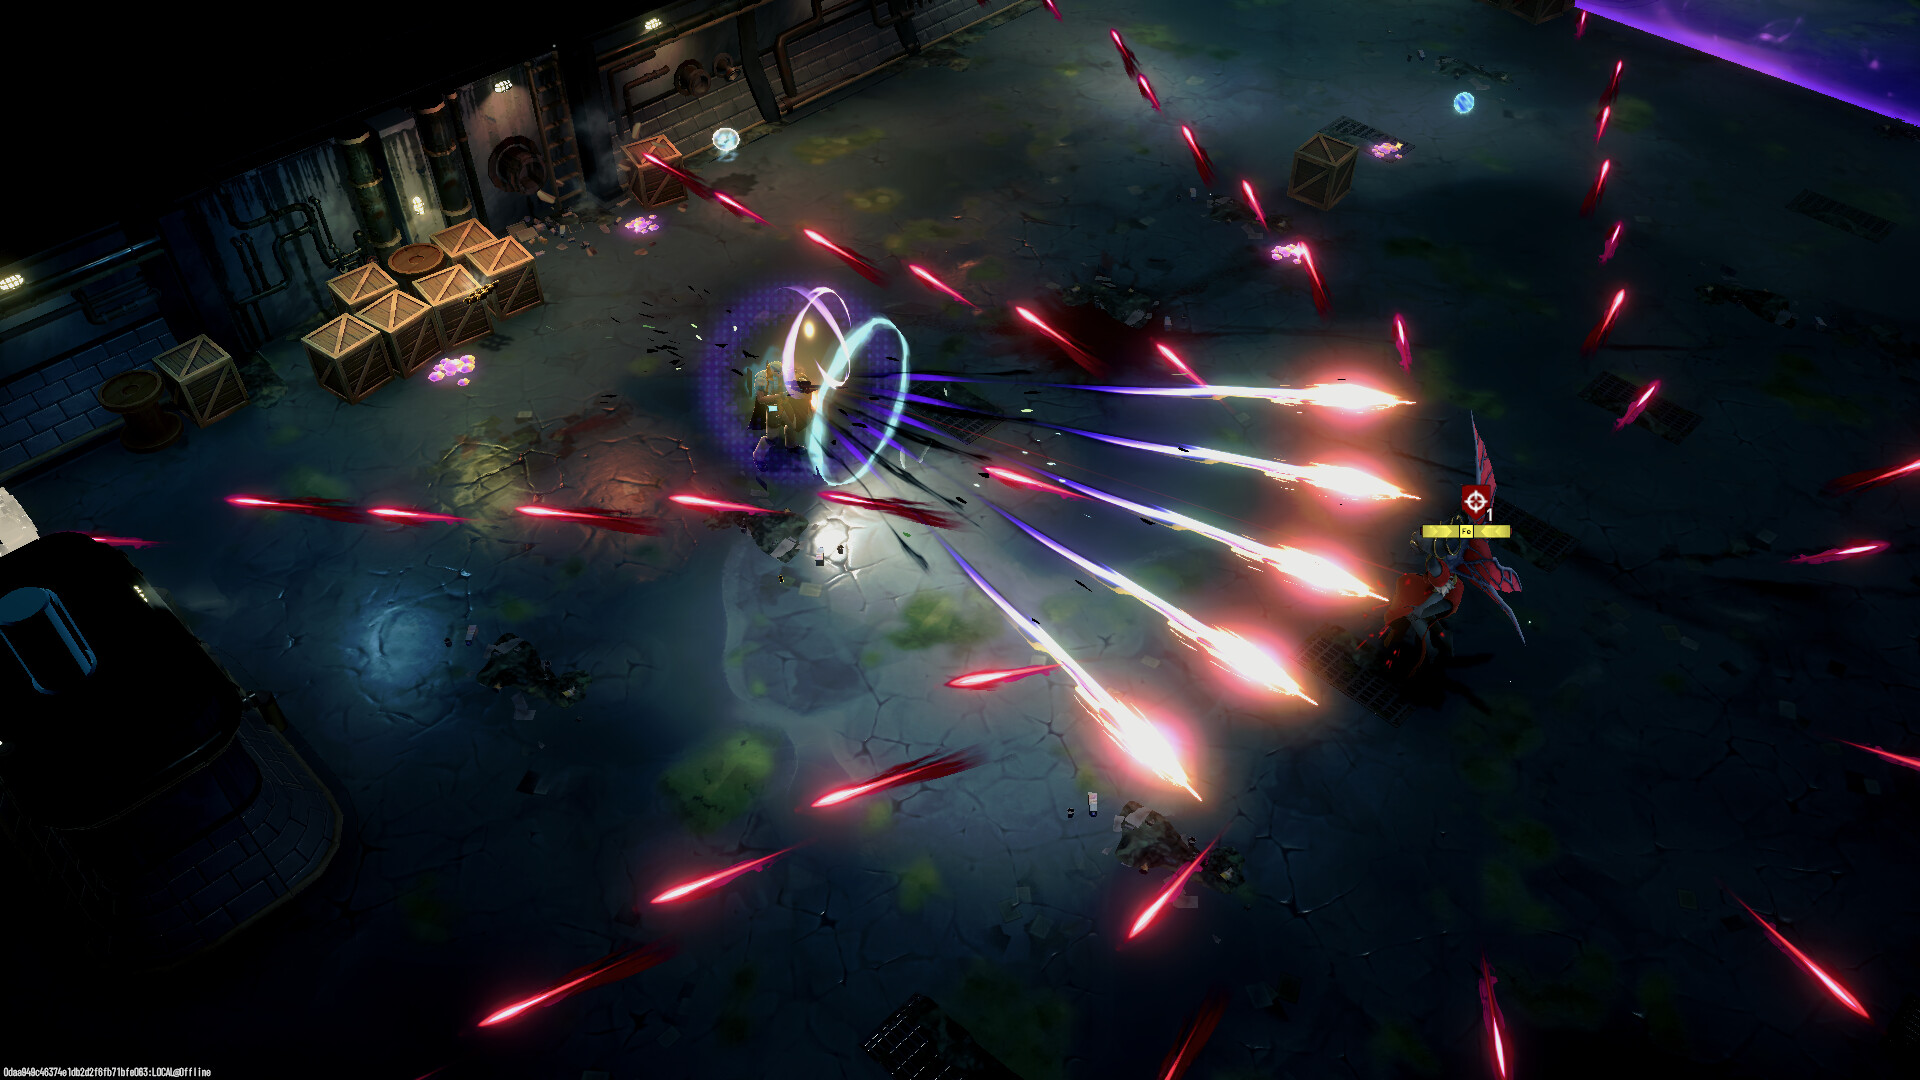
RIFTSTORM is a top-down co-op PvE looter-shooter with a roguelite core, developed by Confiction Labs together with the Indonesian studio Agate. It entered Steam Early Access on August 11, 2026, and the current patch cycle runs through 0.6.4. You play a Weaver: an operative of the Mythic Protocol, a secret organization that contains mythic entities leaking through rifts into the world.
Three genres are stacked on top of each other. The looter layer is guns only: 28+ weapon archetypes, each dropping with a gear score and up to four rolled passives. The roguelite layer is the Lythogram system, which feeds you upgrade choices mid-run and dissolves when the mission ends. The extraction-lite layer is the push-your-luck loop: grab loot, decide whether to dip into a Rift Exposure Zone, then bank everything at the extract pad. Fail to extract and your equipped weapons come home scarred.
The comparison set matters for expectations. It plays closer to a mission-based hub ARPG in the lineage of Inquisitor Martyr than to a hardcore extraction shooter. There is no PvP, no gear fear in the Tarkov sense, and the devs state plainly that the design goal is power fantasy without punishing players for having fun. If you want sweaty tactical raids, look elsewhere. If you want 20-40 minute sessions of hordes, synergies, and escalating damage numbers, this is the current best-in-class at its price.
| Field | Detail |
|---|---|
| Genre | Co-op PvE looter-shooter, ARPG, roguelite, extraction-lite |
| Developer | Confiction Labs, Agate |
| Publisher | Confiction Labs, Gamersky Games |
| Platform | Windows 10/11 64-bit (Steam) |
| Price | Paid Early Access (US$14.99), 20% discount during sale events |
| Players | 1-3 online co-op, plus Solo-Offline Beta mode |
| Perspective | Third-person top-down, readable arena layouts |
| Steam rating | Very Positive, ~700 reviews at the two-month mark |
| Session length | 15-40 minutes per deployment |
Who this guide is for: players past the tutorial who want to know which Weaver to main, how to spend materials without wasting them, and how to push Threat levels without the run falling apart. Every section reflects patch 0.6.4 state, including the Thistle release, the Weapon Mod Transfer system, and the Launcher rework.
What Changed Since Launch: Patches 0.6.1 Through 0.6.4
The patch velocity is unusually high for a team this size, and each drop changes the meta. Playing from launch knowledge means playing an older game.
0.6.1 (Solo-Offline Beta). The game was always-online at launch, the loudest complaint of the first week. This patch added an offline solo mode with a shared save, so progress carries between online and offline sessions. Menus still do not pause the simulation, even offline.
0.6.2 (Friction pass). Full keybinding for keyboard and controller. Credit payouts went up: Threat 2 pays 1.5x, Threat 3 and 4 pay double. Tutorial directives were trimmed. The Atomizer bug that executed enemies at full HP got fixed. A new reload behavior setting appeared later in 0.6.2.4 with three options: Constant Auto, Reload On Empty (now the default), and Manual, with a dedicated manual-reload keybind.
0.6.2.1 (Repair economy). Weapon Repair landed in the Armory, killing the worst part of the scarring penalty. Pickup radius increased. Op. Aegis Core difficulty came down. The purple Challenge Walls in Rift Exposure Zones were pulled temporarily after players got stuck inside them.
0.6.3 and 0.6.3.1 (Launcher rework and mod transfer). Launchers were underpowered because their explosions did not scale with weapon damage buffs. That is fixed: explosions now inherit damage bonuses including Lythogram effects, and Launchers deal roughly 150% more damage against enemies whose Shells are already broken. 0.6.3.1 added the Weapon Mod Transfer system in the Armory: sacrifice a donor weapon, move one mod onto a receiver weapon, pay materials and Creds scaled by rarity. The donor is destroyed. Transfer unlocks after the Directive: Duskfall Protocols.
0.6.3.2 (Urgent Mission cadence). Urgent Missions, the gate on Weaver unlock materials, now spawn every 30-40 minutes instead of every 50-80. Caracal's Launch Kestrel drone duration doubled to 40 seconds. Dropped loot now persists 60 seconds instead of 20. Starling received a model update.
0.6.4 (Thistle and friends). The first post-launch Weaver, Thistle, joined the roster with a zone-control kit built on the grimoire M-0877. Three new weapons: PAR Mk. II-A (fully automatic rifle whose kills drop Shimmer), SG A6-CBA (semi-auto shotgun, wide spread, high close-range damage), and the reworked Culloden, now named Stopping Power, a six-round revolver that gains an Attack Bonus per round loaded and fires a bonus heavy projectile from a full cylinder. Netcode optimizations for smoother co-op. A 20% Steam Autumn Sale discount started the same week.
Getting Started: Your First Deployment
The onboarding run takes roughly 90 minutes to two hours before your second Weaver unlocks. Spend that time deliberately:
- Set Simulation Thread Count to 2 before your first mission if you run a high-core CPU. This is the single most important settings change in the game. High-core-count machines can collapse to single-digit FPS, and the fix is one dropdown in Options > Settings. The most-upvoted launch review is someone confirming this fixed their "massive lag issue."
- Pick Reload On Empty or Manual in Gameplay settings. Older saves default to Constant Auto, which wastes magazines and interrupts you at bad times. Manual reload cannot be interrupted by shooting, which matters for revolver and shotgun play.
- Install on an SSD. Zone loading and lobby waits punish HDD installs in an always-online title.
- Run PADDOCK Contingency at Threat 1 first, even if you played the playtests. EA tuning differs, and the tutorial directives feed you early Periapt materials.
- Start a second weapon slot early. One safe primary and one experimental secondary. The scarring system punishes single-weapon players.
- Join the Discord before you hit a bug. Known issues like cross-version co-op crashes have workarounds posted within hours. Match game versions across your squad before queueing; mismatched builds cause desync and stuck-in-HQ bugs.
Beginner Mistakes to Avoid
| Mistake | Why It Hurts | Fix |
|---|---|---|
| Leaving Thread Count on Auto | Mission FPS collapses on high-core CPUs | Set it to 2 in Settings |
| Greeding every Rift Exposure Zone | Corruption escalates mid-zone | Clear a zone only when healthy with a short extract path |
| Ignoring Urgent Mission timers | Weaver unlocks gate on Urgent materials | Log in around the 30-40 minute spawn window, chain them on login |
| Salvaging duplicate weapons before Mod Transfer | 0.6.3.1 made duplicates into mod currency | Check the Transfer tab before salvaging anything with a good roll |
| Buying random high-CP gear from the Armory | Armory stock refreshes are limited and often under your current CP | Craft from Dataseed blueprints instead, buy only stopgap pieces |
| Stacking identical Lythograms in a squad | Overlapping modifiers waste the synergy layer | Split: one damage, one utility, one survival focus |
| Extracting only when forced | Death after objectives pays less than a clean walk-out | Set an exit trigger before the drop |
Core Mechanics Explained
Lythograms: The In-Mission Roguelite Layer
Lythograms are temporary upgrades offered mid-run from objective clears, shrine interactions, and elite kills. You usually pick between two or three options. Nothing persists after extraction.
Four buckets cover most offerings:
| Bucket | Typical Effects | Best Context |
|---|---|---|
| Offensive | Weapon damage, crit chance, elemental proc rates, cooldown reduction on damage skills | Speed-clear runs, Starling or Caracal squads |
| Defensive | Shields, damage reduction, overheal buffers, revive speed | First clears of a zone, learning a Weaver |
| Utility | Move speed, loot reveal radius, deployable duration, squad buffs | Coordinated trios where positioning carries |
| Economy | Material drop rates, extract bag efficiency | Dedicated farming nights |
Two coordination rules. First, call your picks on voice; a squad that stacks three of the same damage Lythogram wastes two-thirds of the offer pool. Second, once the boss timer or extract window is close, defensive and mobility picks beat damage. A dead Weaver drops their haul.
Periapt: Meta Progression Between Runs
Periapt is the persistent node tree. Extracted materials feed account-wide upgrades: baseline stats, crafting recipes, higher Threat unlocks. Failed runs do not wipe Periapt progress, which is what makes the extraction-lite loop sustainable.
Invest by role. Hertz wants max health and damage reduction. Starling wants attack, magazine, and crit nodes. Botsy wants deployable and shield buffs. Rook wants ability damage plus move speed. Caracal wants crit and repositioning nodes. Thistle wants zone duration and ability cost reduction. In a trio, assign each player a different subtree so the squad covers all buckets.
The Forge Center: Craft, Salvage, Repair
The Forge Center is the hub-side weapon factory, and after 0.6.3.1 it is the center of long-term progression.
Random craft spends materials and credits for an unpredictable weapon. Use it early for filler and archetype testing.
Dataseed blueprint craft targets a specific weapon pattern. This is the efficiency path: blueprints come from mission completions and elites, and the resulting weapon rolls within predictable bands.
Two dials control craft quality. CP potential sets the ceiling, costing more at high settings. Rarity floor guarantees a minimum rarity and gets sharply more expensive at the top. Do not max both on every craft. Pick one flagship weapon per Weaver main and invest there; fill secondary slots with cheap crafts.
Weapon Mod Transfer (0.6.3.1) is the sink for good rolls on wrong bases. Open the Transfer tab, select a donor and receiver, pick one mod and one slot, pay the cost scaled by rarity, and the donor is destroyed. The strategic shift: a perfect passive on a low-CP base is no longer a dead item. It is inventory for your next flagship craft.
Repair (0.6.2.1) lets scarred weapons lose their negative mod for a price. Repair rule of thumb: fix a scarred flagship, salvage a scarred filler. A scarred weapon still functions; the random negative mod just sits in one of its slots.
Combat Power (CP) and Threat Levels
CP is a derived score from equipped weapons, their mods, and quality rolls. Mission select shows recommended CP, and a red highlight means harder enemies with better Mythic Resource and blueprint odds.
Armory purchases are a trap for CP progression: players report buying a 600 CP rifle while sitting at 1800 CP, then pulling 450 CP drops from Legendary cases during 2500 CP activities. The store stock does not track your power curve. Blueprint crafting is the only reliable ladder.
Threat Levels scale enemy stats, spawn budgets, loot tables, and objective pressure. Post-0.6.2 payouts make Threat 3-4 the best credit-per-hour content in the game, which is exactly where the difficulty wall sits. Raise one Threat tier only when all three are true: your flagship weapon is within 10% of recommended CP, you have a scar-backup plan (either a spare primary or Creds for repair), and the squad has cleared the previous tier twice without a death.
Rift Exposure Zones and Scarring
Rift Exposure Zones are optional high-corruption sub-areas inside missions: deadlier mythics, better loot, no safety net. The purple Challenge Walls from launch are temporarily removed, which makes zones more open but no less lethal.
Scarring is the failure penalty. If the squad wipes or you abandon with gear at risk, each equipped weapon takes a random negative mod in one slot. Post-repair-system, scarring is a tax rather than a punishment. The one case that still hurts: a scar on your only flagship before a high-Threat push, because the negative mod occupies a slot you cannot replace without repair costs.
The Shell System and Elemental Math
Enemy mythics carry Shells, a shield layer with an elemental affinity. Correct-element damage strips Shells fast; wrong-element damage is heavily resisted; Launchers post-rework ignore the matchup entirely against broken Shells, dealing around 150% bonus damage to unshelled targets.
The practical combat loop: open with the correct element to break Shells, swap to your highest raw-DPS weapon once the Shell pops, and save Launcher ammo for packs or for the post-break window. Squads should cover at least two elements across their loadouts before pushing Threat 3.
Weaver Roster and Meta After Thistle
Six Weavers are playable as of 0.6.4. Kits below reflect live tuning.
Rook: Protocol Generalist
The tutorial-friendly all-rounder. Balanced damage, a defensive bulwark ability, and a squad buff. Rook punishes nothing and covers everything, which makes him the recommended first main for solo players learning Threat 3 pacing. Kit falls off slightly at the top end because every specialist outdamages him in their lane, but his Lythogram flexibility means he benefits most from offensive stacks.
Starling: Vanguard Weapons Specialist
The sustained DPS backbone and the pick for players who love gunplay over ability rotation. Magazine and crit scaling from Periapt nodes multiply her output directly. The 0.6.3.2 model refresh modernized her look; her kit is unchanged and remains the safest DPS investment because weapon passives apply to her core loop.
Hertz: Roseguard Frontline Disruptor
The tank. Taunts, knockdowns, and damage mitigation that lets squishy carries stand still and shoot. Hertz is the co-op MVP: in a trio with randoms, a competent Hertz raises clear rates more than any DPS pick. Solo, he is slow but nearly unkillable, a fine choice for learning boss patterns at high Threat.
Botsy: Containment Technician
Zone control through deployable turrets and shields. Botsy owns choke points and defend objectives, and the 0.6.2.4 fix to Orbiter formations made deployable placement reliable. Play Botsy when the mission type is hold-out or escort. His damage is mid without Lythogram support, but his turret uptime turns any arena into fortified ground.
Caracal: Interregnum Marksman
The mobile marksman. Repositioning tools, a drone (Launch Kestrel, 40 seconds post-0.6.3.2), and Sight Prey, which now applies its debuff instantly. Caracal is the highest-skill Weaver: fragile, bursty, and reward-heavy for players who keep distance discipline. His solo clear speed at Threat 2-3 is among the best in the roster.
Thistle: Grimoire Zone Controller (New in 0.6.4)
Thistle controls fights instead of chasing kills. Her loop: establish a zone, gather targets, detonate on your own schedule.
- Threshold creates a damaging ritual zone; enemies inside take bonus damage from all sources. It is a focus-fire enabler for the whole squad.
- Ruination pulls enemies toward its center, damages, and applies Stagger. Use it to break formations or drag stragglers back into Threshold.
- Discordance collapses all active zones and summoned units, detonating each for area damage.
The build identity is stacking: more zones and units on the field means a bigger Discordance payoff. Thistle scales with zone duration Periapt nodes and with cooldown Lythograms. Early playtests suggest she is strongest in co-op, where a Hertz or Botsy can hold enemies inside Threshold. Solo she wants Ruination-first play to compensate for weaker self-peel.
Tier Snapshot (Post-0.6.4)
| Tier | Weaver | Why |
|---|---|---|
| S | Starling, Hertz | Direct weapon scaling; co-op clear-rate king |
| A | Caracal, Thistle | Highest ceilings, highest skill or coordination demands |
| B | Botsy, Rook | Mission-dependent value; Botsy sinks vs. certain objectives, Rook tops out |
Tiers shift with squad size. In a fixed trio, Botsy rises to A because turret zones plus a Thistle Threshold stack multiplicatively. Solo queue, drop Thistle and Botsy one tier because their kits lean on teammates holding your zones.
Trio Compositions That Work
The Balanced Anchor (recommended): Rook or Hertz anchors front, Starling carries damage, Botsy or Thistle owns the field. This composition covers all four Lythogram buckets naturally and has no bad matchup.
The Turret Lockdown: Botsy plus Thistle plus Hertz. Three layers of zone control; enemies die inside overlapping zones before reaching the squad. Slowest clears, lowest death rate, best for learning Threat 4.
The Mobile Flank: Caracal plus Starling plus Rook. Pure damage, fast rotations, needs voice comms. This is the speedrun composition for credit farming at Threat 2, but one bad pull at Threat 4 ends the run.
Assign Lythogram lanes before the drop: one player commits to offensive picks, one to utility, one to defense and economy. The offer pool is squad-wide enough that three disciplined lanes beat three greedy ones.
Progression Strategy: Materials, Unlocks, and Priorities
The single biggest progression complaint is Weaver unlock materials: pre-0.6.3.2, players hit level 50 and stalled on Urgent Mission drops. The fix helped, but the grind order still matters.
- First 10 hours: one main Weaver to unlock cap, PADDOCK loop at Threat 1-2, spend nothing on random crafts beyond your first two weapons. Bank materials.
- Unlock your second Weaver as soon as Urgent materials allow. Dual-Weaver access doubles your daily Urgent value because Urgent spawns are account-wide timed.
- Directive: Duskfall Protocols is the gate for Weapon Mod Transfer. Rush it on your main the moment it appears.
- Flagship craft at roughly CP 1500: pick your main's best archetype, set CP potential high, skip the rarity floor, craft. Transfer the best mod off your old weapon.
- Threat 3 push: requires a repaired flagship, two elements covered in the squad, and Periapt defensive nodes online.
- Threat 4 farm: endgame loop. Credit payouts doubled; this is where random crafts become affordable as material dumps.
Material priority: Urgent drops > Dataseed blueprints > Mythic Resources > Creds. Never spend Mythic Resources on random crafts; they are the bottleneck for flagship potential upgrades.
Step-by-Step Strategy: Sequences That Work
Sequence 1: The Clean First Extraction (First Session)
- Queue PADDOCK Contingency, Threat 1, solo or with one friend.
- Follow objectives, ignore the first Rift Exposure Zone entrance entirely.
- Take one defensive and one utility Lythogram on the way; learn the pick UI while stakes are low.
- At the final objective, open the map, find the extract pad, and walk out with the full haul.
- Back at HQ, salvage every duplicate, run one random craft, and stop. Discipline early beats richness later.
Sequence 2: The Zone Probe (First Exposure Zone)
- Queue any mission at Threat 2 with a full squad of three.
- Clear all main objectives first. Bank nothing; the zone is the last stop.
- Enter the Rift Exposure Zone only if the squad is above 70% health with abilities off cooldown.
- Grab the nearest two loot nodes inside the boundary. Do not chase the beacon deeper.
- Walk to the extract as a unit. The zone probe pays for a repair fund; the beacon dive pays for a scar.
Sequence 3: The Urgent Material Loop (Weaver Unlocks)
- Log in and check the Urgent Mission board timer.
- If one is live, run it immediately with your best geared Weaver.
- If not, run one Threat 2 PADDOCK as a timer; Urgents spawn every 30-40 minutes.
- Chain Urgents across your roster: each unlock track pulls from the same drop pool.
- Stop when the current Weaver unlock is funded; stockpiling past one unlock wastes Urgent drops that could roll the next character's materials.
Sequence 4: The Flagship Craft Ladder
- Complete Duskfall Protocols on your main to unlock Mod Transfer.
- Random-craft until a weapon rolls with a strong passive (crit chain, elemental echo, or magazine efficiency, depending on your Weaver).
- Blueprint-craft your main's best archetype at high CP potential, ignoring rarity floor.
- Transfer the strong passive from the random-craft donor onto the blueprint receiver.
- Repair-scan check: if the transfer left the receiver at a good roll, repair any scar immediately; this weapon is your Threat 3-4 carrier for the next 20 hours.
Sequence 5: The Solo Survival Run (Threat 3, Solo-Offline)
- Launch Solo-Offline to eliminate disconnect risk; your save is shared.
- Pick Hertz or Rook. Solo Threat 3 is a war of attrition, not DPS races.
- Take defensive Lythograms until the final arena, then switch to damage.
- Break every Shell with elements before swapping to raw DPS; solo damage uptime is too low to brute-force Shells.
- Extract the moment the objective completes. Solo death means a full haul loss with no revive timer to save you.
Advanced Tips
- Launcher math changed the endgame. Post-0.6.3, a Launcher with damage-scaling Lythograms hits roughly 150% bonus damage into broken Shells. A Starling running Shotgun-to-Launcher swaps after Shell breaks outdamages pure crit builds in horde tiers. The UI still displays Launcher damage lower than actual output, so trust the health bars, not the stat sheet.
- Mod Transfer economy: transfer costs scale with rarity and CP. Moving a top-tier mod onto a low-CP receiver is cheap; the same move onto a flagship is expensive. Transfer down during the blueprint-craft grind, and only move mods onto endgame bases when the base is final.
- Hide Allied Projectile VFX in Gameplay settings. In full trios, the screen becomes unreadable; this option, added in 0.6.2.4, is the difference between dodging and guessing in co-op boss fights.
- Manual reload wins shotgun and revolver fights. Reload On Empty is fine for ARs, but Stopping Power's full-cylinder bonus projectile means you should dump six and reload proactively between packs. Manual reloads cannot be interrupted by shooting.
- Loot persistence is 60 seconds now. Post-0.6.3.2, you can finish a pack before looting. Circle the arena once, then sweep. Old habits of sprinting to drops get people killed in Exposure Zones.
- Cross-version co-op crashes: after every patch, one squad member always forgets to update. Stuck-in-HQ countdowns and invisible teammates are version mismatch symptoms. Everyone checks their build number before the first queue of the night.
- The Stopping Power full-cylinder shot also pierces and leaves a DoT zone. Position so the bonus projectile lines up through two or three enemies; it is the highest single-trigger damage in the current pool.
- Thistle's Discordance detonates summoned units too. Botsy turrets and Thistle's own constructs count, so a Botsy-Thistle duo should time turret drops with Discordance windows for massive burst.
- Solo-Offline still simulates while menus are open. Opening the map mid-fight does not pause anything. Treat every menu like a pause-free zone.
- Urgent Mission spawns are account-timed, not character-timed. Swapping Weavers does not reset the timer. Log in, check the board, plan the session around the next spawn window.
Performance and Settings
| Setting | Recommendation | Why |
|---|---|---|
| Simulation Thread Count | 2 | Fixes high-core CPU FPS collapse |
| Reload Behavior | Manual or Reload On Empty | Auto-reload wastes cylinders and magazines |
| Allied Projectile VFX | Hide | Readable co-op fights |
| Screenshake | Off | Personal preference; reduces fatigue in horde tiers |
| Install | SSD required | Zone streaming and lobby times |
Expect occasional co-op disconnects in Early Access. Solo-Offline is the fallback for unstable connections, and saves transfer both ways. The 0.6.4 netcode optimizations specifically target desync, and the team is actively monitoring co-op reports.
Early Access Roadmap Signals
The devs have shipped on a weekly-to-biweekly cadence since launch. Confirmed direction: more Weavers (Thistle was first), balance passes based on gameplay data, Mod Transfer UX iteration, and netcode monitoring. Thistle launched with an explicit note that her balance will shift; expect zone-tuning patches. The four Contingency mission lines (PADDOCK, AEGIS, KEYSTONE, DUSKFALL) are the content skeleton, with new encounters like the Nennothoid Aberration added to existing Ops rather than whole new zones, so farm routes stay stable across patches.
FAQ / Common Mistakes
Is this actually an extraction shooter? No, and judging it as one causes bad reviews. There is no PvPvE lobby, no stash-loss spiral. Extracting is how you bank a run; failing costs scars, which are now repairable. It is a mission-based co-op looter with a push-your-luck layer.
How do I get past the CP wall around 2000? Stop buying Armory stock; it does not scale with you. Blueprint-craft at high CP potential, transfer good mods off old bases, and run Threat 3 for Mythic Resources. The wall breaks in one focused flagship craft.
Why are my Launchers so weak? If you last played before 0.6.3, they were weak. Explosions now scale with damage buffs and shred broken Shells. Re-test them; the UI damage display is still understated.
Do I need friends to enjoy this? No. Solo-Offline with a shared save is stable, and Hertz or Rook solo the content through Threat 3. The game is better with a trio on voice, but it is not co-op-gated.
What should I do with duplicate weapons? After Duskfall Protocols: donor inventory for Mod Transfer. Before that: salvage for materials. Either way, duplicates are currency now, not clutter.
Which Weaver should I main first? Rook for total safety, Starling for damage that never stops scaling. Pick based on whether you want to learn the game's rhythms (Rook) or its gunplay ceiling (Starling). Both stay viable into Threat 4.
Is the grind for new Weavers too slow? It was at launch. Post-0.6.3.2 Urgent cadence plus account-wide timers cut the wall roughly in half. Log in around spawn windows and chain Urgents on your best-geared character instead of grinding story missions.