Daily Pick
One deeply researched guide worth reading today.
A practical route through the systems that matter most, written to help new players make confident decisions quickly.
Overview
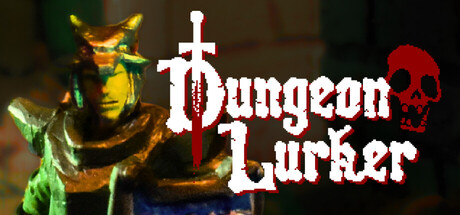
Dungeon Lurker is a retro action roguelike from 13AM Games, the Toronto studio behind Dawn of the Monsters and Runbow. The whole game is framed as a product of a fictional 32-bit console, the Eclipse System 32, with "mind-boggling 3D graphics and 256 colors." That 1993-era packaging is not decoration. The fake hardware, the manual, the relic website with its marquee "under construction" banner and visitor counter, and the corrupted text on screen are all load-bearing pieces of the mystery.
The loop looks simple. You fight into a cursed dungeon, brawl ghouls, goblins, and werewolves in real-time side-scrolling combat, and climb back to the surface to upgrade. Under that loop sits a story about two childhood friends, Mikey and Gabriel. Mikey disappeared years ago. Gabriel finds Mikey's old gaming setup still working, with a strange game waiting inside. When you first boot Dungeon Lurker, you see a save file that is not yours. Figuring out who owned this game before you is the point. The official site asks the question directly: will you save your brother, or will both of you become trapped in the dungeon forever?
The game's momentum keeps building. It was announced at The MIX Summer Game Showcase 2026, won the Ubisoft Indie Series National Bank Special Prize, passed 100,000 Steam wishlists during the August demo window, and crossed 150,000 by October 1 after appearances at Gamescom, PAX West, and the Tokyo Game Show. A release date and additional platforms are teased as coming news. Release date and price remain to be announced.
Game Details
| Field | Detail |
|---|---|
| Genre | Retro action roguelike, beat 'em up combat, dungeon crawler |
| Developer / Publisher | 13AM Games |
| Platform | Windows (Steam); more platforms teased |
| Price | TBA |
| Players | Single-player |
| Release | To be announced (demo ran Aug 5-12, 2026) |
| Levels | 30+ handcrafted levels, no procedural generation |
| Combat | Real-time, side-scrolling beat 'em up style |
| Controller | Full controller support, Steam Input API |
| Languages | 7 supported (English, French, Italian, German, Spanish and more) |
| Award | Ubisoft Indie Series, National Bank Special Prize |
| Wishlists | 150,000+ (as of Oct 1, 2026) |
| Steam | store.steampowered.com/app/4669960 |
| Official site | dungeonlurker.com |
Getting Started: First Hour
1. Read the manual like it is a clue. The Steam page is explicit: the manual contains more secrets than you expect. It is written as a physical artifact from a real 90s game box, complete with fake developer notes, item descriptions, and troubleshooting pages. Skim it before your first run, then keep it open while you play.
2. Learn the movement rules before you learn the combat. You cannot run directly up or down, only along the sidescroller's horizontal plane. Sprinting ends in a short skid. Double-tapping a direction dashes. Several demo players died because sprinting blocked their dodge roll at the worst moment. Get a feel for all three movement states before you fight anything serious.
3. Find the safe combo string early. The bread-and-butter string is light, light, light, heavy, charged heavy. It hits reliably, carries enemies, and does not knock them down until the final hit. Players who mash random buttons knock enemies to the floor early and then stand around waiting for them to get up.
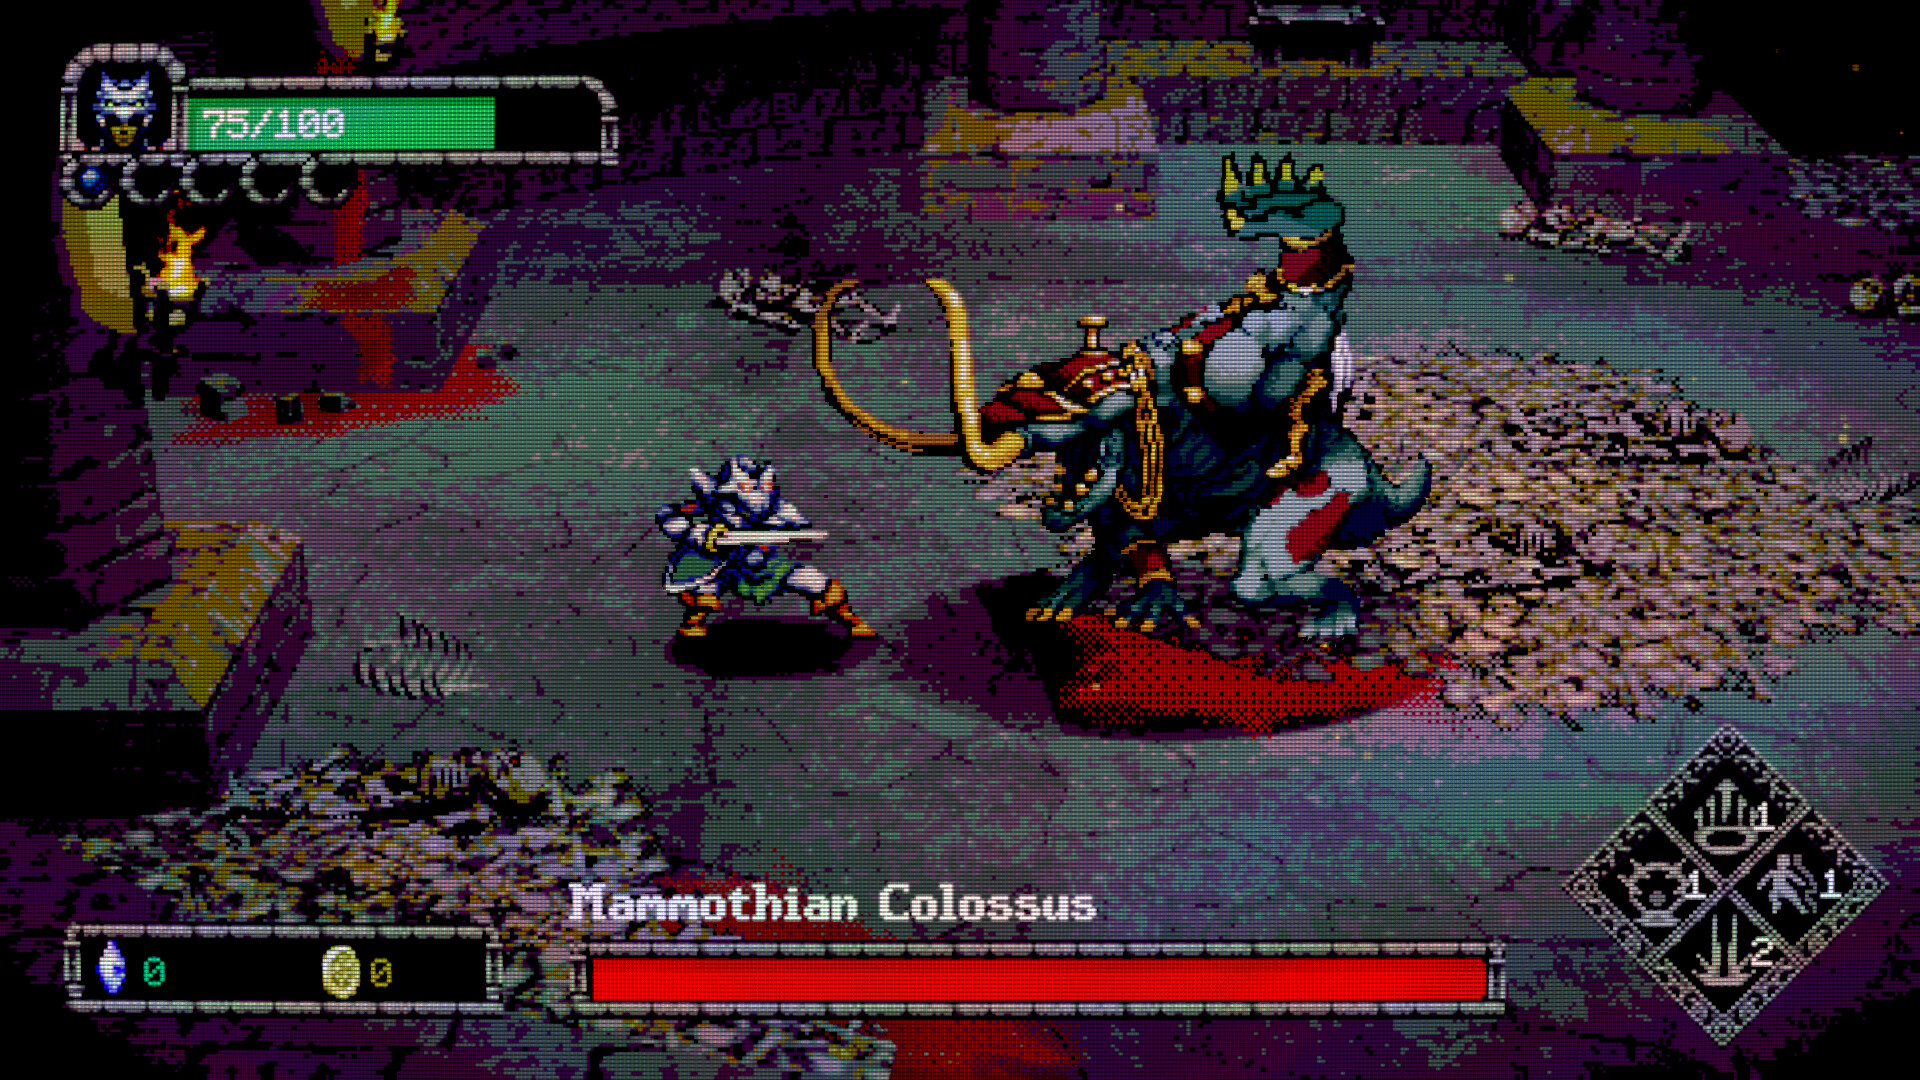
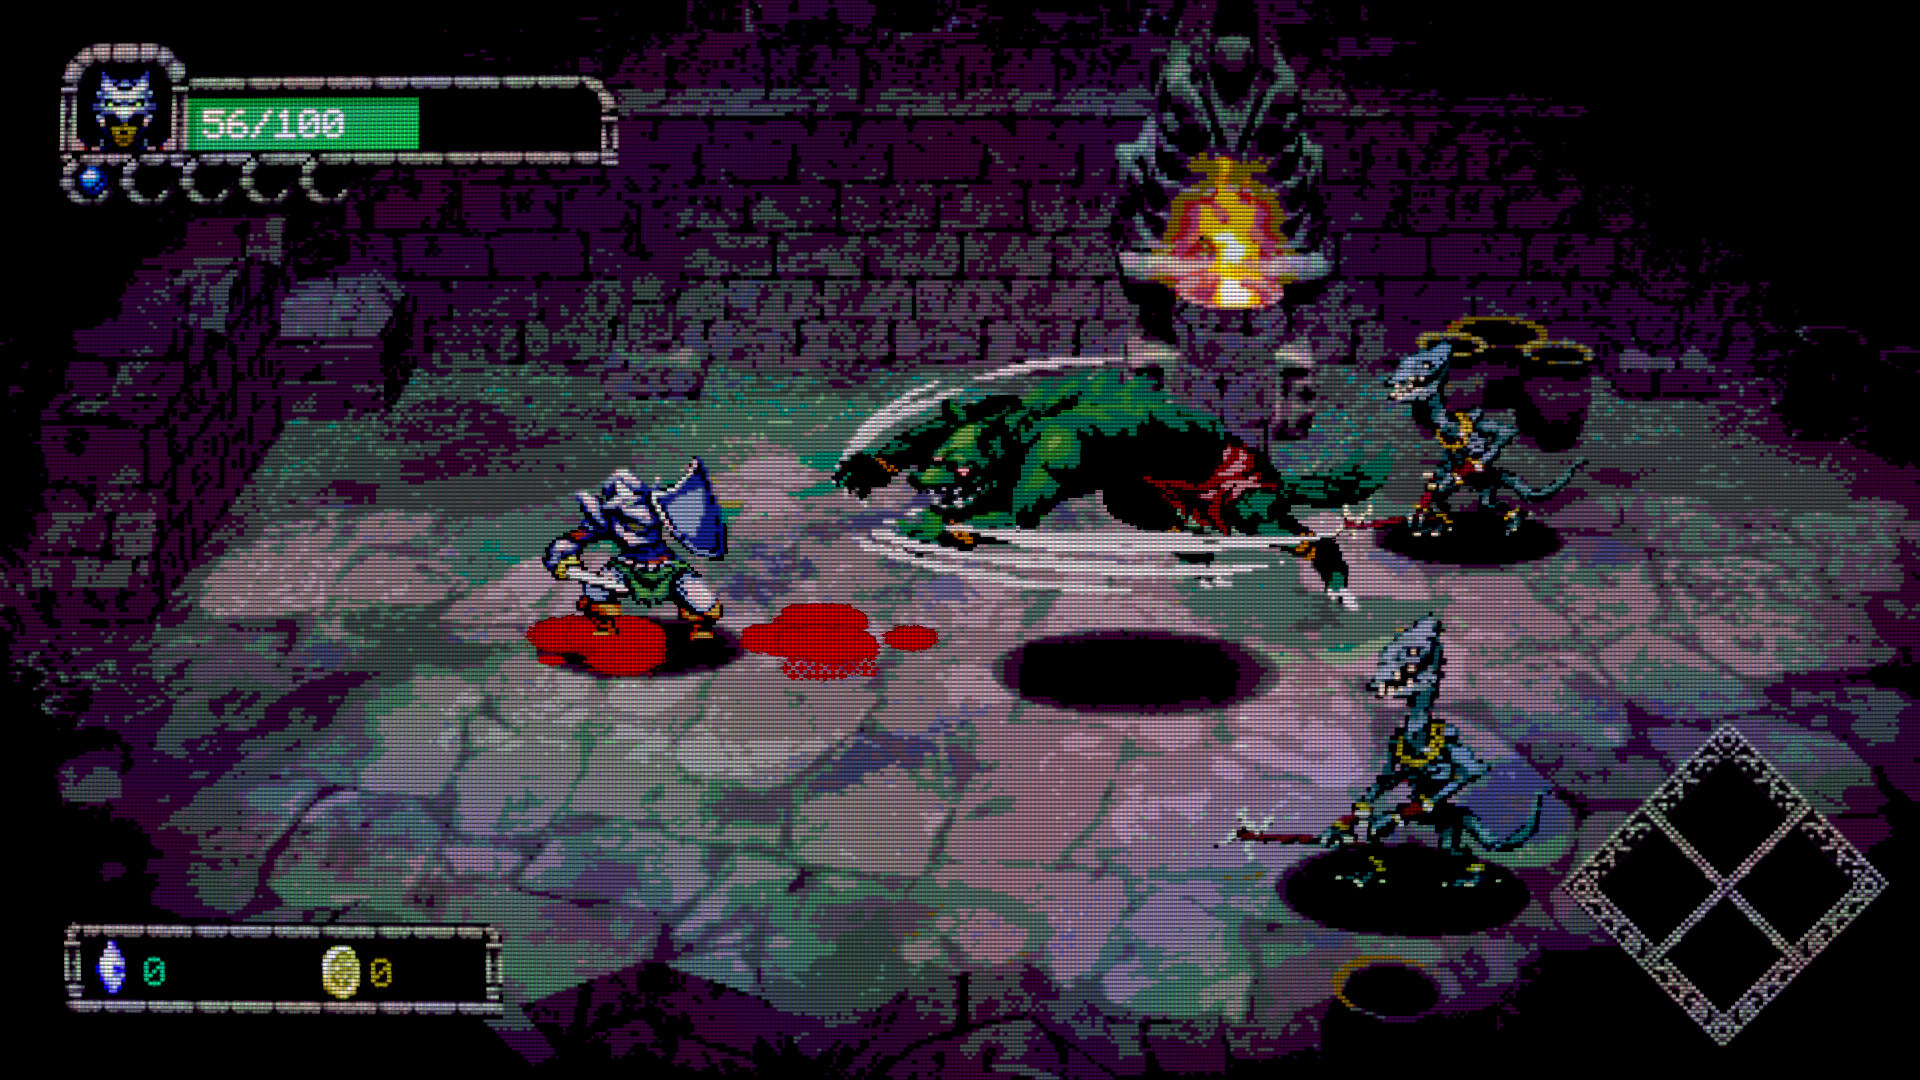
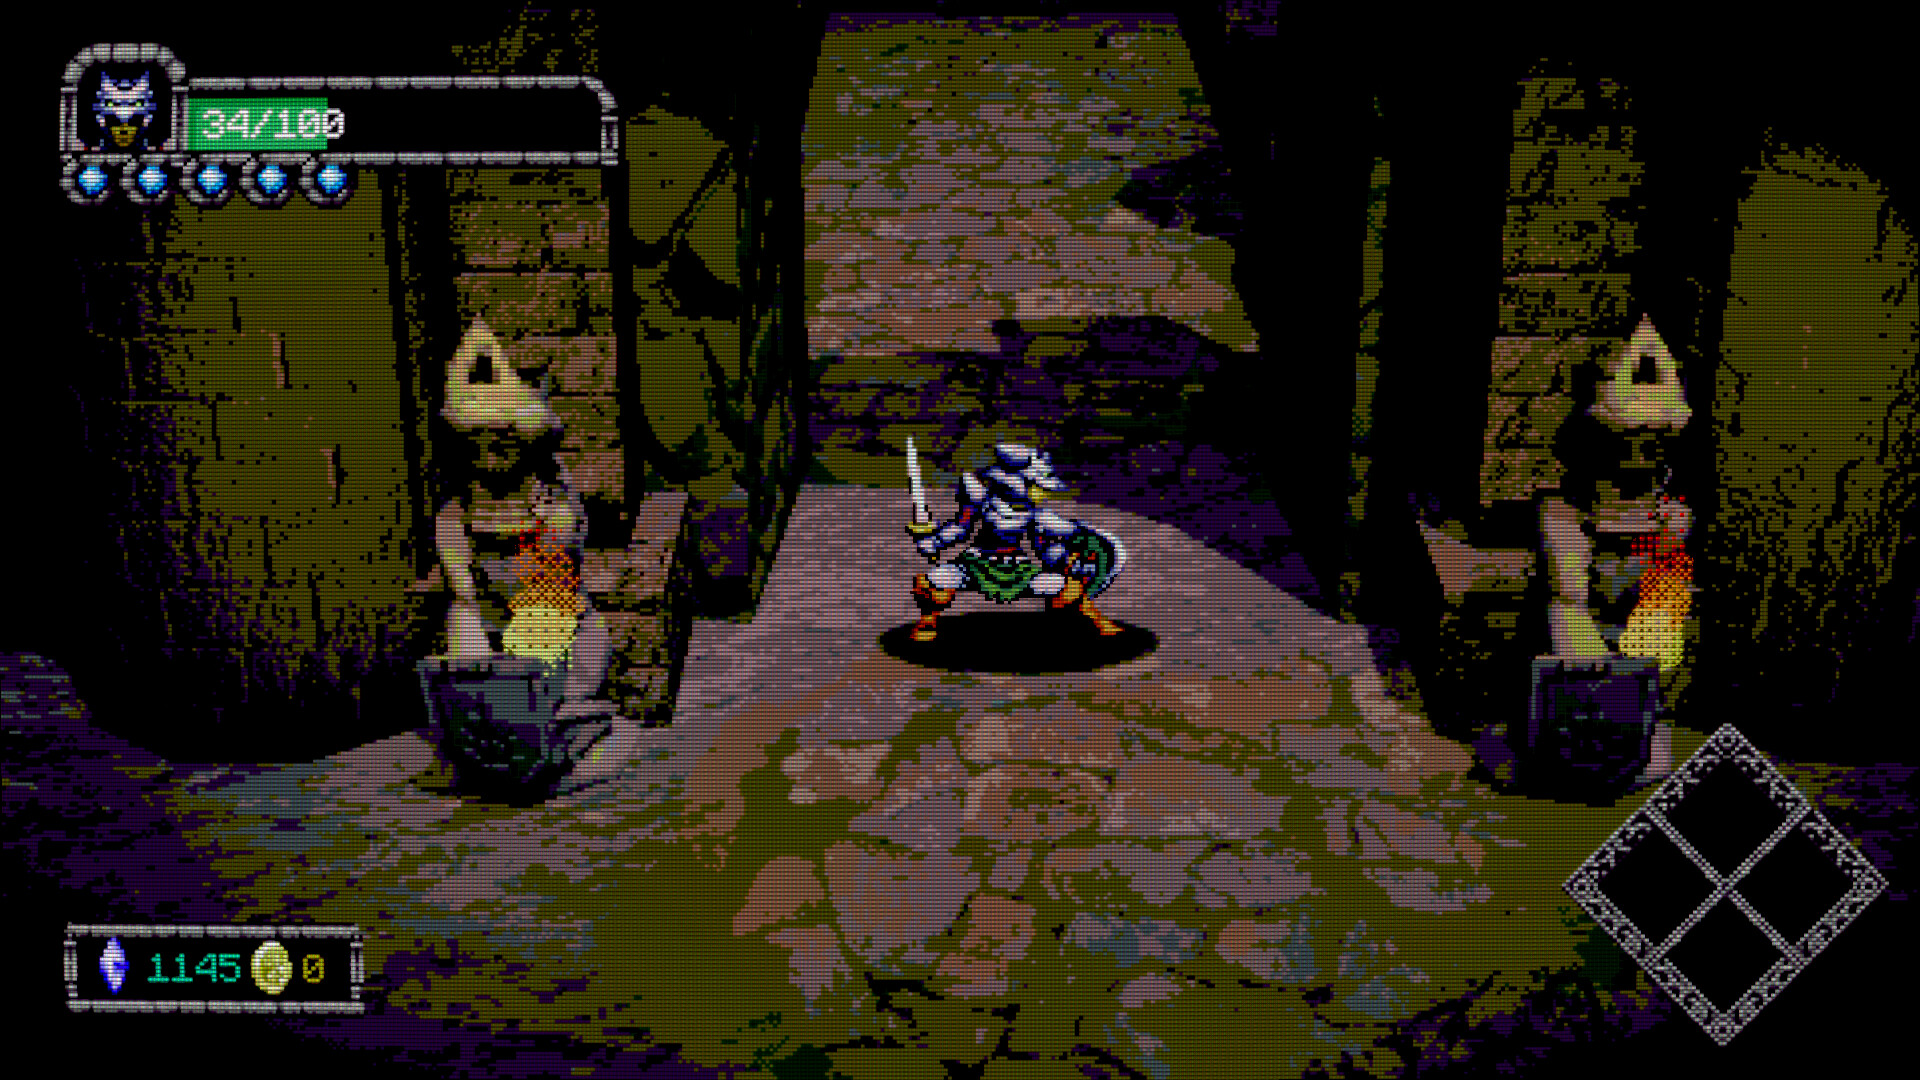
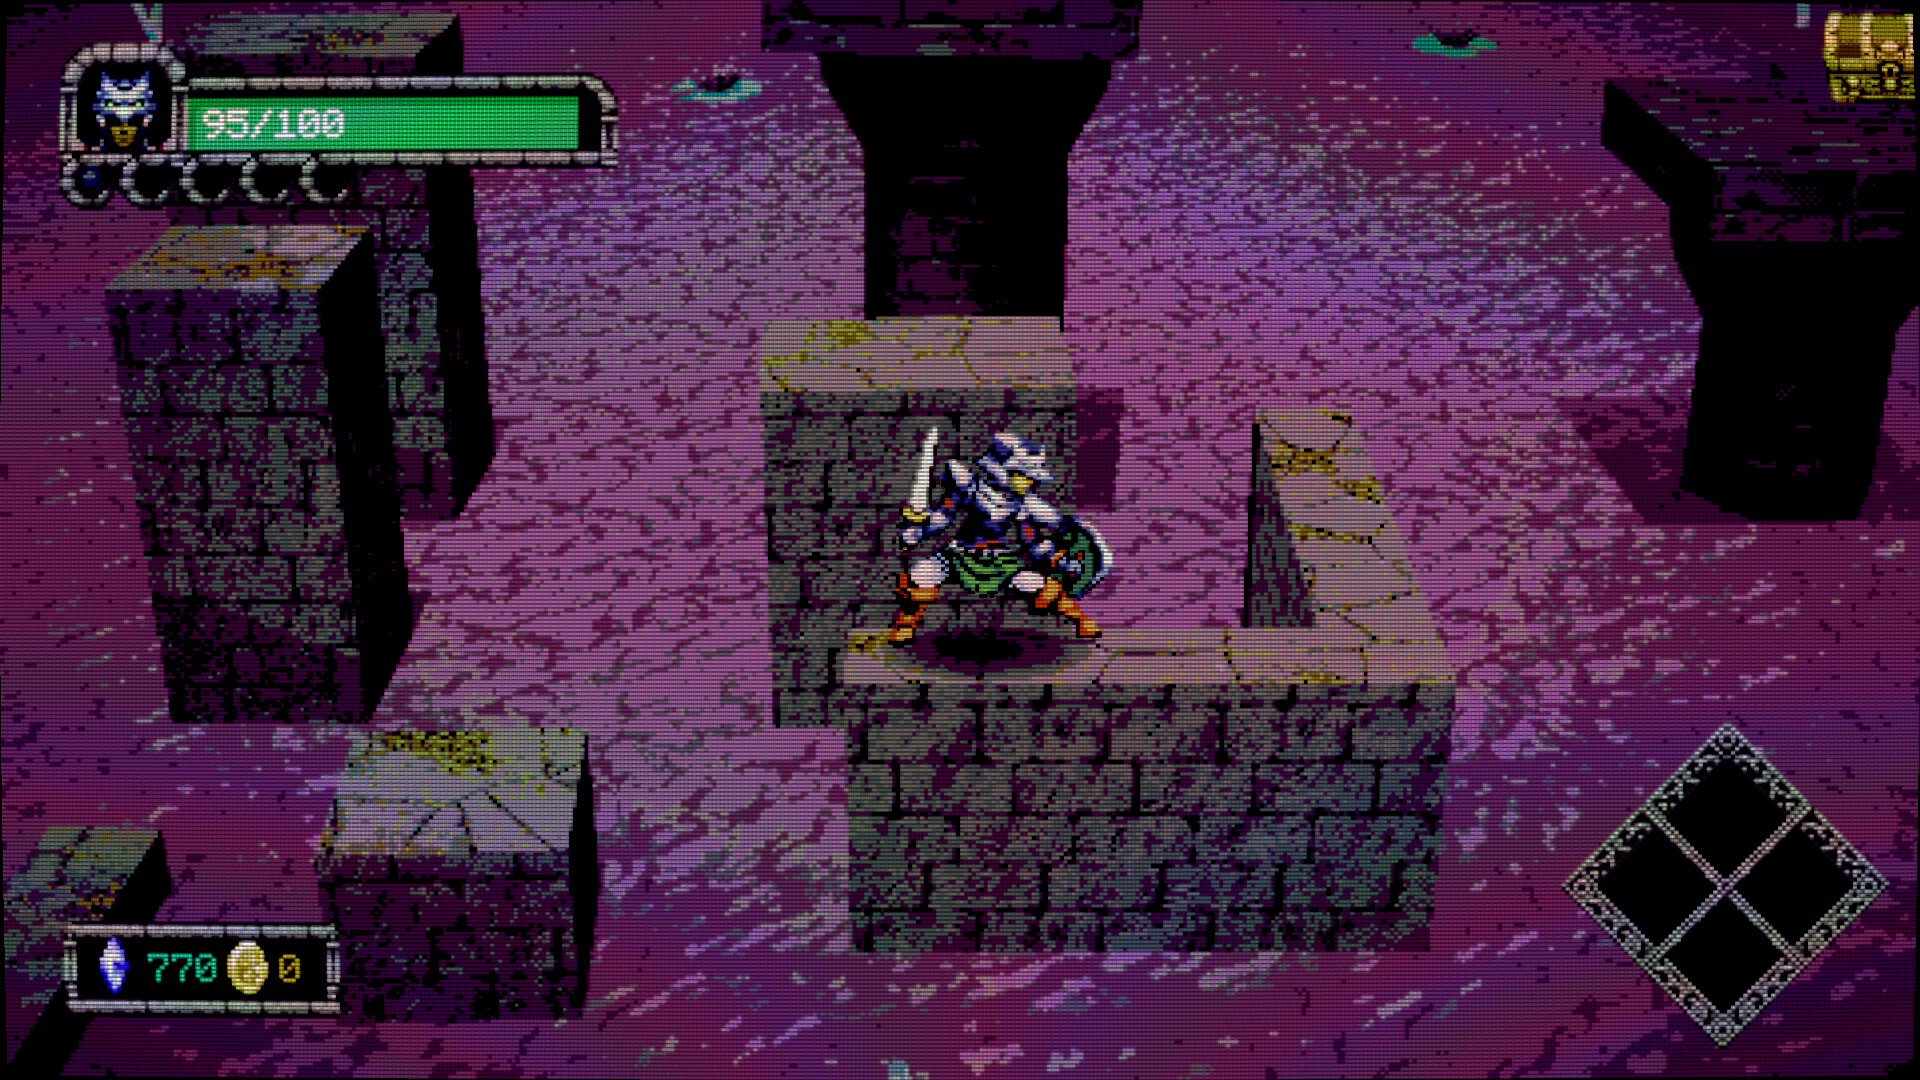
4. Watch your resources in the HUD. The interface tells you more than it explains. Your portrait sits top-left with a health bar and a row of small circular slots beneath it. Bottom-left tracks a blue crystal counter and a gold coin counter. Bottom-right holds four quick-access slots arranged in a diamond, matching the face buttons of a SNES-style controller. Learn what fills those slots and why, because they are your spells, potions, and consumables mid-fight.
5. Decode as you go. Corrupted, glitch-styled text appears in the store copy, in-game screens, and the manual. The most visible message reads "defeat the D4RL0RD." Screenshot every instance immediately. Trying to reconstruct these messages from memory later loses the thread.
6. Return to the surface often. The surface hub is the intended difficulty valve. If a level is beating you down, you are under-geared, not under-skilled. Bank your materials, spend them, then push deeper.
Core Mechanics
The Eclipse System 32 Frame
The game presents itself as a cartridge for a console that never existed. The fake Eclipse 32-bit processor, the 256-color palette, the chunky pixel art, and the muddy sound design all sell a specific uncanny slice of gaming history, the transitional era between 16-bit and 32-bit machines like the SEGA CD, 3DO, and CD-i. The developer grew up on arcade beat 'em ups of that period, and the games that shape Dungeon Lurker are arcade classics: Magic Sword (progress up a tower with shortcuts and secrets, inverted here into a descent into a dungeon) and Rastan Saga III, also known as Warrior Blade (huge detailed sprites, four levels chosen in any order, each clear granting a power that helps with the others).
The fiction is not a skin. The game you play belonged to someone before you, and its save file is on the cartridge when you start. Every fake-90s detail, from the manual's marginal notes to the relic website that looks like a forgotten late-90s page, is a clue about who that person was and what happened to them. The site's footer reads "© 1994 13AM GAMES — ALL RIGHTS RESERVED." That date is fiction, and it is also a coordinate.
Beat 'Em Up Combat
Combat uses the classic beat 'em up camera: pseudo-3D, no camera control, your character anchored to the action. What makes Dungeon Lurker different is exploration. This is a beat 'em up whose rooms are dungeons, not left-to-right streets. The precedents are niche arcade-to-console oddities like Splatterhouse 3 and Taito's Light Bringer, games that kept the camera and combat language but let the player roam.
| Move | What It Does | Best Use |
|---|---|---|
| Light attack | Fast, chains into combos, low knockback | Building combos, chip damage |
| Heavy attack | Slower, more damage, higher knockback | Finishers, breaking shields |
| Charged heavy | Big damage, big launch | Sending enemies into walls |
| Dash heavy | Dash then heavy, knockdown on wake-up | Loop-locking midbosses |
| Running heavy | Momentum attack, wide hit | Clearing crowds, kiting |
| Downward heavy | The only attack that hits downed enemies | Punishing prone targets |
| Airborne heavy | Jumping slam | Fails to hit downed targets in the demo |
| Shield block | Reduces or negates damage | Holding ground, boss fights |
| Shield bash | Knocks enemies out of the way | Creating space in a corner |
| Dodge roll | Quick i-frame movement | The core defensive tool |
The feedback feel is the selling point. Hits have real hitstop. Combo finishers send enemies flying, they bounce off walls, and you can sprint after them and pick the combo back up. That wall-bounce juggle is the most satisfying move in the game, and the sound design sells every impact.
Two demo notes matter for build planning. There are no throws or contact grabs yet, so crowd control comes from spacing, running heavies, and magic. And ghosts carry super armor; they shrug off light attacks, so do not treat them like goblins.
The health economy is blunt: you carry 100 HP, bosses deal chunks, and potions are finite. The demo's boss fights routinely chew a third of your bar on a single mistake. Treat every green sliver as a resource you are spending, not a number you own.
Spells and Potions
Spells and potions are separate systems from equipment, not optional extras. You find them on the descent and upgrade them on the surface. Spells shown in the demo have strong area effects and function as your crowd-control answer for rooms that plain sword work cannot handle. A boon that grants a guaranteed critical hit after a successful dodge exists in the demo, and loading a strong spell into that window clears multi-enemy rooms fast.
The four quick-slots on the HUD correspond to consumables and spells you assign. Keep a healing potion in the slot your thumb reaches without thinking. Demo deaths cluster in the seconds players spent navigating menus with a werewolf mid-lunge.
The Surface Upgrade Loop
Between excursions you return to the surface hub and upgrade three tracks: equipment, spells, and charms. Charms are the customization track. Because every level is fixed, farming becomes route planning instead of gambling. You can design a loop that enters a level, grabs the materials you need, uses the shortcut, and returns. Repeat until the upgrade you want is yours.
30+ Handcrafted Levels
All levels are fully handcrafted, with no procedural generation and no AI-generated content. Fixed layouts mean knowledge transfers between runs. The demo players who cleared fast did so because they memorized enemy spawns and trap placement. Every level is a designed puzzle with its own enemy composition, secrets, and unlockable paths, and a clean clear can open paths that a messy fight leaves sealed.
The Manual and the Hidden Layer
The manual is a designed artifact. Handwritten notes and marginal symbols in it match locations inside the dungeon. Button codes in the password section activate hidden features. Corrupted paragraphs describe the Darklord with broken characters that decode into messages from Mikey's perspective. Page numbers work as coordinates: an item description on one page names a symbol or a hidden eye, and the same object appears on a specific dungeon floor. Combine page number, item description, environmental clue, and the right action, and hidden vaults open. The investigation does not end in the game. The fake website and print materials extend the puzzle, and some manual clues point to online locations. Players who treat only the combat as the game see half of it.
Dungeon Map and Key Locations
The campaign descends through three major regions, each introducing new enemies and hazards. The demo covered the first stretch, including floor 3 and one named gate level.
| Area | Character | Main Threats | Strategy Focus |
|---|---|---|---|
| Upper Catacombs | Goblins, basic traps, pressure plates, collapsing floors | Swarms | Positioning, funneling through doorways |
| Sunken Ruins | Flooded halls, ambushes, locked gates, ghouls | Ambushes | Route memory, clearing rooms before looting |
| Cursed Abyss | Werewolves, elites, cracked walls, hidden rooms | Fast heavy hitters | Mobility, spell combos, secret hunting |
Sunken Colonnade (floor 3). The demo's third floor hosts a ghost and witch midboss. It looks brutal, but the pair is vulnerable to knockdown loops: dash heavy on their wake-up knocks them down again before they can act. A full combo chain becomes a stunlock.
Onyx Gate. A gate level with a second drawbridge and a pitfall section where the ground gives way. The jump timing is tighter than it looks; wait for the first tile to fall before committing, then cross with a running jump. Falling into a hole costs real health, and the respawn point is not kind.
The Bog of the Reprobate. Listed in the manual but not present in the demo. Developer confirmation: the Bog is full-game content. Plan for it as a late-dungeon zone with its own rules.
Merchant's quest and the obsidian statuettes. A merchant quest asks for nine obsidian statuettes. Demo players capped out at seven, so the remaining two are beyond the demo's content. Collect every statuette you find; the quest does not complete short, and backtracking in a fixed-level game wastes time.
The Old Knight and Primitive Magic. An NPC called the Old Knight references a spell type, Primitive Magic, that does not appear in the demo. Treat it as a full-game spell track worth hunting once the dungeon opens up.
Boss Compendium
The named bosses revealed so far, from demo footage and the official media kit, deserve their own reference. Each carries a dedicated bottom-screen health bar, and each punishes a different bad habit.
| Boss | Arena | Pattern Summary | Counter Strategy |
|---|---|---|---|
| Pretty Prugga | Flooded cavern, green liquid cascade | Carries a black cauldron; red crab-like adds lurk in the shallows and ambush from screen edges | Clear the adds first, fight on dry tiles, never stand in the green flow |
| Gnuhk | Bone-strewn red arena | Large hunched brute with clawed hands; wide swings, punishes greed with trading hits | Dodge through swings, punish the recovery, do not trade |
| Mammothian Colossus | Cracked stone hall with pillars | War-elephant beast with tusks and raised-fist slams; blood pools mark its charging line | Stay off the charge lines, use pillars as cover, strike the flanks after slams |
| Oshok | Barrel-lined dungeon room | Large gray humanoid; fast slash trades, punishes sprint-heavy commits | Keep sprint off, bait the slash, dodge through, punish from behind |
| Wolf boss | Late demo, forcefield arena | Aggressive rusher that can shove you through the forcefield | Block and dodge, kill it before positioning bugs matter; killing it restores the field |
| Ghost and witch midboss pair | Sunken Colonnade | Ghost super armor plus witch ranged pressure | Knockdown loop with dash heavy on wake-up, close on the witch between casts |
Two HUD details make every boss fight more survivable. First, your portrait's circular slots refill as you find potions in the arena; a boss room with unopened containers is a boss room with free healing you have not claimed. Second, the crystal counter matters: several demo spells consume crystals, so a zero-crystal boss entry means your crowd control is offline. Top up before the gate.
Enemy Tactics Reference
| Enemy | Region | Behavior | Counter |
|---|---|---|---|
| Goblins | Upper Catacombs | Swarm, weak alone | Funnel through doorways, defeat one by one |
| Ghouls | Sunken Ruins | Ambush from corners | Memorize ambush points, clear rooms first |
| Werewolves | Cursed Abyss | Fast, heavy damage, punishes sprint-and-attack | Dodge precisely, never trade blows, keep sprint off |
| Ghosts | Sunken Colonnade and later | Super armor, ignores light attacks | Heavy attacks, dash heavy loops, magic |
| Witch (midboss) | Sunken Colonnade | Pairs with ghosts, ranged pressure | Knockdown loop, close before she casts |
| Red crab adds | Pretty Prugga arena | Aquatic ambushers in flooded floors | Clear before engaging the boss |
| Necromancer | Official art confirms a hooded summoner enemy | (Full game) | Expect summons; kill the source, not the spawns |
Builds and Loadouts
Do not lock into one loadout. Werewolf levels punish the same build that cleans up ghoul levels. Swap before you descend, not after you die.
Goblin-clearing (early): one area spell, one dash tool, high attack speed weapon. Goblins die to anything, so the goal is clear speed.
Ghoul-hunting (mid): one crowd-control spell, one burst spell, survivability charms. Ambushes punish tunnel vision, so carry tools that work from a corner.
Werewolf loadout (late): mobility charms, strong dodge timing, spell combos that control groups. Positioning beats raw damage here.
Dodge-crit loadout (anywhere): lean into the dodge-critical boon. Dodge into a group, take the guaranteed crit, follow with a spell. This pattern clears demo rooms without touching a potion.
Knockdown loop loadout: dash heavy plus any charm that speeds recovery. Use it on armored or midboss enemies, never on goblins, where it wastes time.
Boss-checklist loadout: before any named boss gate, carry one heal, one crystal-refill item, and one burst spell. Every named boss fight in the demo punishes a different habit, but all of them punish entering with empty quick-slots.
Charm priority is simple: buy the charm that fixes your specific deaths. Trap deaths mean trap-safety charms. Ambush deaths mean awareness charms. Slow runs mean damage charms. Do not spread resources evenly across all three tracks.
Step-by-Step Strategy
Sequence 1: The First Clean Clear
- Enter the first level and stop. Identify every enemy in the room before acting.
- Lure goblins toward a doorway or narrow corridor.
- Kill them one by one with the safe string: light, light, light, heavy, charged heavy.
- Wall-bounce a survivor and chase the combo; practice the pickup here.
- Inspect walls for cracks or odd patterns before leaving.
- Collect everything, return to the surface, spend on survivability equipment first.
Sequence 2: Handling a Key-Triggered Ambush
- When you see a key or objective item in the Sunken Ruins, stop.
- Clear every adjacent room first, even if it costs time.
- Return to the key at full health with potions ready.
- Grab it, then retreat to the cleared room.
- Fight the triggered enemies in the space you control, one at a time.
- Never grab a key with unexplored rooms behind you.
Sequence 3: Farming an Upgrade Route
- Pick a level with the material you need and a shortcut to the surface.
- Run the route three times and note where enemies spawn.
- Skip unnecessary fights on the memorized route.
- Collect only what you need; return and spend.
- Descend to the next section with the upgrade active.
Sequence 4: Breaking Through a Boss Wall
- When a boss walls you, do not repeat the same attempt.
- Return to the surface and reread the manual pages for that boss.
- Rebalance the loadout: swap spells, upgrade charms, restock potions.
- Re-enter with a positioning plan, not aggression.
- If you still lose, farm one more upgrade cycle before the next try.
Sequence 5: The Pretty Prugga Fight, Step by Step
- Enter the flooded cavern and note the green liquid cascade. Do not step in it.
- Let the crab adds come to you at the dry entrance and clear them with running heavies.
- Engage Prugga only on dry tiles. The cauldron swing has a long wind-up; dodge through it.
- After the swing, punish with the safe string into a charged heavy.
- If you get knocked into the liquid, roll out immediately; the damage ticks fast.
- At low boss health, adds return. Repeat step 2 before finishing her.
Sequence 6: The Werewolf Gauntlet
- Enter the Cursed Abyss with a mobility loadout and sprint discipline.
- Fight werewolves one at a time; two at once is a death sentence.
- Dodge through the attack, then punish from behind.
- Use spell combos to control groups before they close distance.
- Check cracked walls between fights; the best equipment hides there.
- At low health, take the first escape point to the surface.
Sequence 7: The Knockdown Loop
- Identify a single armored or midboss enemy.
- Open with dash heavy to knock it down.
- Stand at recovery range and repeat: dash heavy as it rises.
- It never fully acts; the loop is the fight.
- Watch for adds; the loop breaks if a second enemy interrupts.
- Switch to downward heavy to hit anything already on the ground.
Sequence 8: Decoding the Manual
- Use the highest resolution manual you can find; low resolution hides details.
- Compare every artifact, charm, and spell with its manual description.
- Look for unusual wording, odd capitalization, incomplete sentences.
- Screenshot every corrupted text instance in the game.
- Cross-reference manual page numbers with dungeon locations.
- Enter discovered codes at the points the manual hints at.
Advanced Tips
The one-combo rule. Mash random buttons and you knock enemies down early, then wait around while they rise. The safe string keeps pressure on and controls the knockdown timing. Master it before anything fancy.
Sprint discipline. Sprint cancels your dodge roll in the worst moments. In the Cursed Abyss, keep sprint off during fights and reserve it for spacing and retreats.
Route memory beats reflexes. Every level is fixed. The player who knows the spawns, traps, and secret walls wins over the player with faster reflexes, every time.
Prepare before you loot. Keys and objectives trigger scripted encounters. Clear the room first. This one habit prevents most Sunken Ruins deaths.
Read only in safe rooms. Interactable text in the dungeon, like tablets, leaves you vulnerable; enemies can attack while you read and force a button-mash exit. Clear the room before opening anything.
The shield is a weapon. The shield blocks, but the bash also creates space. In corners, bash a goblin out, dodge out behind it, and resume the combo.
Crystal arithmetic. Spells that consume crystals are your best wave-clear, but a zero-crystal entry into a boss gate leaves you with a sword and hope. Track the counter the way you track health.
Treat glitches as signals. The corrupted font is never an accident. Every broken character is placed with intent. Stop and study it.
The website is part of the game. The official dungeonlurker.com page is styled as a forgotten 1994 artifact, complete with an under-construction marquee and a visitor counter. Its source pages, navigation stubs, and image names are fair game for the mystery. View-source is a legitimate play style.
Bank early, spend often. Unspent materials at the surface are wasted progress. The upgrade loop is the difficulty valve.
Controls and Settings
Full controller support is official, with Steam Input API profiles, and the developer recommends a gamepad for the real-time brawling. Keyboard and mouse handle menus and combat. The demo does not expose a full rebinding menu yet, and the double-tap-to-dash default has no off switch in the current build, so plan around it.
| Setting | Demo Status | Note |
|---|---|---|
| Double-tap dash | Always on | A common complaint; no toggle in the demo build |
| Direct up/down movement | Restricted | Sidescroller plane only |
| Key rebinding | Limited | Requested by the community |
| Ultrawide 21:9 / 32:9 | Not supported | Requested by the community |
| CRT filter | Not included | Heavily requested |
| Music volume | Not adjustable | Reported missing |
Known Issues and Troubleshooting
The demo build had a set of widely reported quirks. Most are cosmetic or input related, and none block finishing the demo. The team is heads-down on the full build, so treat these as demo-era notes.
| Issue | Workaround |
|---|---|
| High CPU temperatures on some systems | Reported widely; monitor temps, cap load on hot machines |
| Opening the manual in town disables all buttons | Save first, reopen the manual while in the dungeon |
| Controller issues on some pads | Replug the controller, use Steam Input default profile |
| White screen on game load | Restart the game; verify files if it persists |
| Knockdown near a wall locks input | Avoid fighting flush against walls |
| Wolf boss knocks you behind the forcefield | Attack through it; killing the wolf restores the field |
| Dialogue interrupts during combat | Clear the room before reading tablets |
FAQ
When does Dungeon Lurker release? Release date and price are to be announced. The team says news about the release date and additional platforms is coming, with development in full swing after the Gamescom, PAX West, and Tokyo Game Show circuit.
Is there a demo? Yes. A demo launched August 5, 2026 as part of the Six One Indie Demo Days event and ran through August 12. Demo progress carries toward the full game.
What platforms does it support? Windows per the current Steam listing, with additional platforms teased in the 150K wishlist announcement. Full controller support via Steam Input API.
Is it single-player only? Yes. There are no multiplayer modes listed.
Does it use procedural generation? No. All 30+ levels are fully handcrafted, a headline feature of the game. The store page also confirms no AI-generated content.
What are the system requirements? Windows 10 version 21H1 (build 19043) or newer, an x86/x64 processor with SSE2 (or Arm64), 8 GB RAM, a DX10/DX11/DX12 or Vulkan capable GPU, and 5 GB of storage.
Does it have Steam Achievements? Yes, listed in the store categories, along with Family Sharing.
Who is developing Dungeon Lurker? 13AM Games, the Toronto studio behind Dawn of the Monsters and Runbow. The game won the Ubisoft Indie Series National Bank Special Prize.
How big is the hype? 150,000+ Steam wishlists as of October 1, 2026, up from 100,000 in August and 50,000 in June.
How long is the demo? About three hours for two clears by an experienced player. Individual runs are compact; the 30+ level campaign is built to be long.
Is the retro look just cosmetic? No. The fake Eclipse System 32 presentation, the previous owner's save file, the manual, the corrupted text, and the relic website are all part of the mystery.
What is the story about? Two childhood friends, Mikey and Gabriel. Mikey vanished years ago, and Gabriel finds his old console still running a game that should not exist. The official site frames the stakes as saving your brother or both of you being trapped in the dungeon forever.
Final Tip
Treat the manual as a second game. Dungeon Lurker hides its real story in the manual, the corrupted text, the relic website, and the level secrets, and the players who read everything understand the game the way the developers intended. The combat carries you through, but the mystery is the point.
The verdict: if the retro presentation clicks, this is the rare roguelike where the fiction and the mechanics point at the same secret. If you need procedural replayability or a fast loot loop, wait for post-launch details. For fans of handcrafted action games with a puzzle layer, the demo proved the formula works, and 150,000 wishlists say you are not the only one waiting.
Last reviewed by Game How To Editorial. We play each game, verify controls against official sources, and update guides when game mechanics change.